Showing posts with label distress ink. Show all posts
Thursday, February 5, 2015
Art Society - Plaster Angel
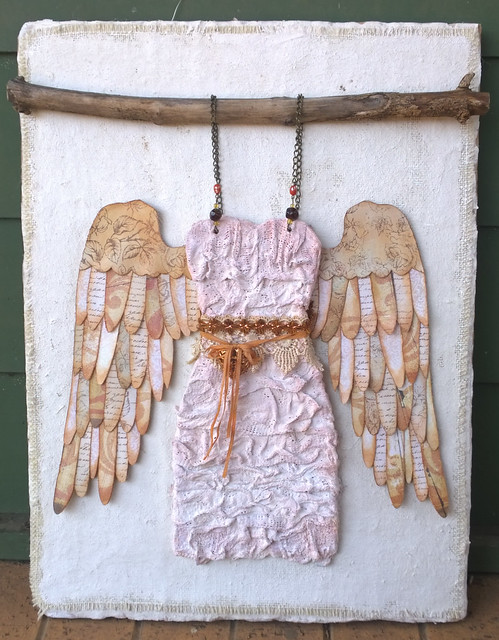
This project was taught by the fabulous Christy Tomlinson via her monthly Art Society Club. This project taught us how to make our own canvas using burlap and plaster of paris to cover a piece of recycled cardboard. You can see that I started with a very thick piece of corrugated cardboard as my base.
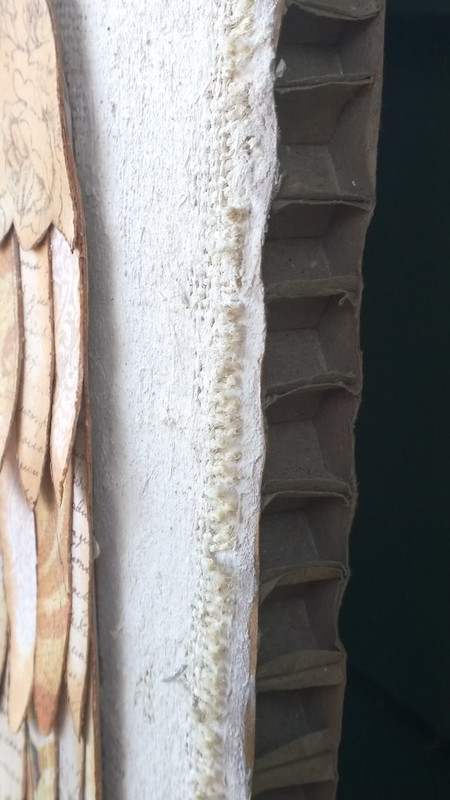
The dress form is also plaster wrapped around a cardboard base. I used pre-purchased plaster bandages and they are just fabulous. They become silky and buttery very quickly and are a dream to work with.
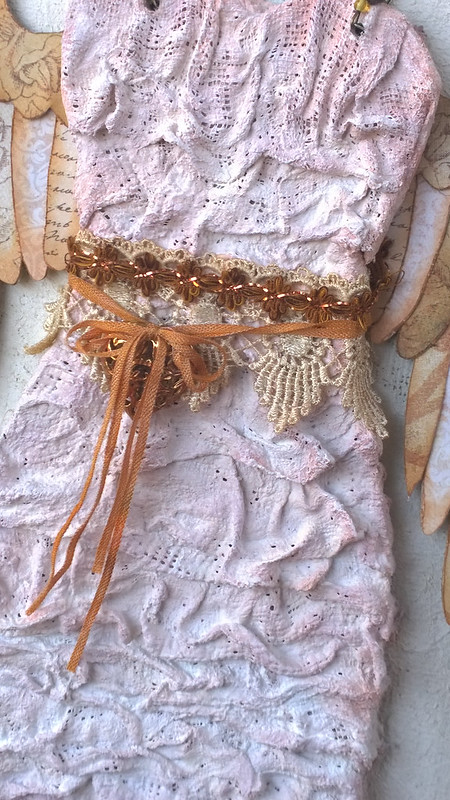
The plaster strips start take about 15 minutes to start to harden, and a good day to dry thoroughly. I coloured mine with distress inks and gesso. The plaster sucked up a lot of the colour, and although it doesn't look like it, the dress has about 5 coats of colour added to it. Look at all that delicious texture!
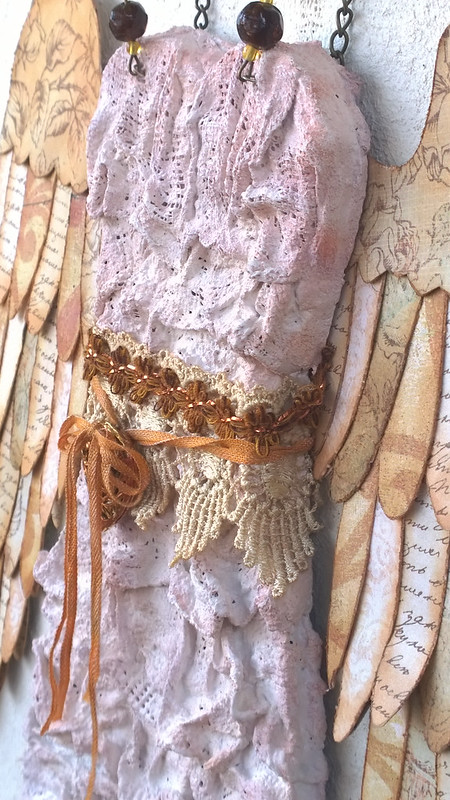
The wings are cut from various scrapbook papers, tattered with a distressing tool and inked with distress inks. Each of the feathers are cut individually and glued down in layers to give dimension.
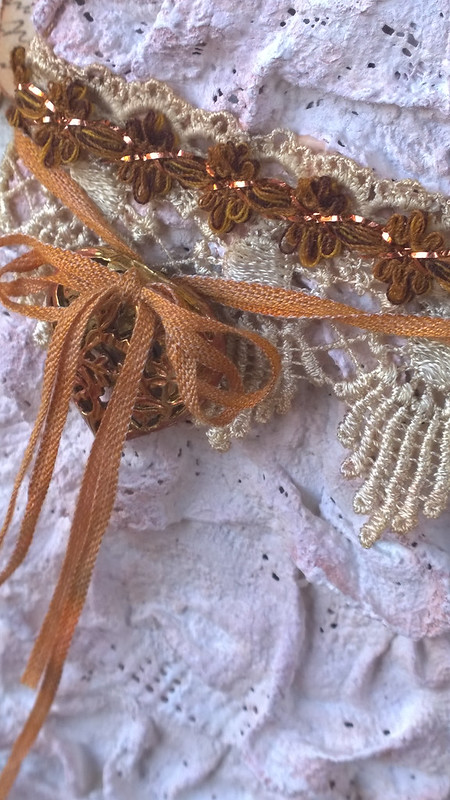
She is finished with a few pieces of hand dyed lace and ribbon with a metal heart taken from a recycled piece of dress jewellery.
Saturday, January 10, 2015
Life Book 2015 - Playing Tag
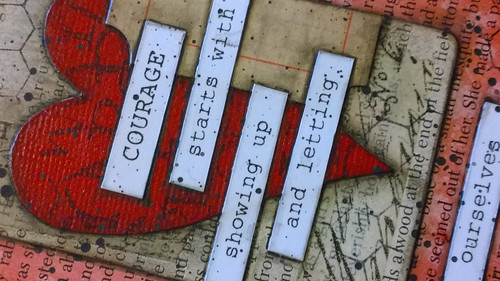
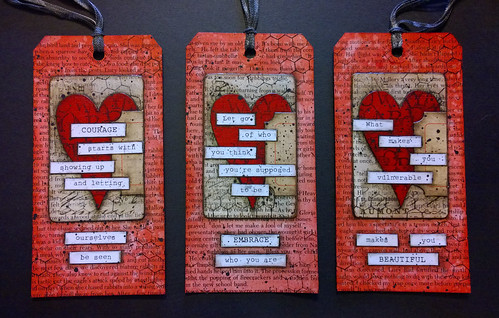
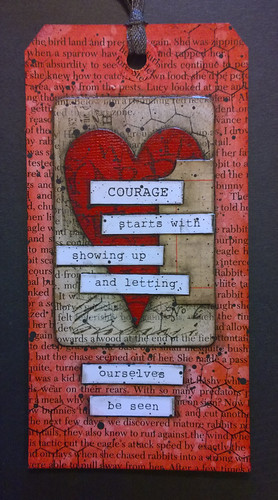
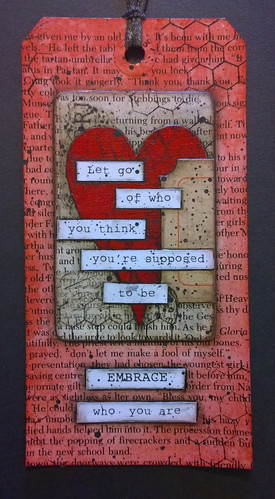
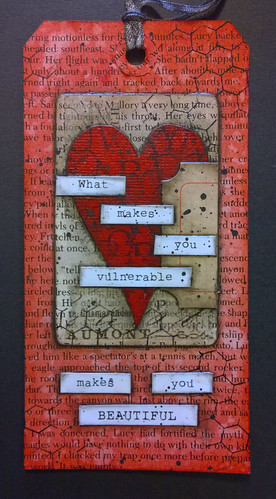
Continuing with Week 2 of Life Book 2015 with guest artist Roben-Marie Smith. The focus of her lesson was to create a quick tag using pre-printed art. I had four altered playing cards lying around doing nothing so I decided to use those on my tag.
Each of the quotes is by Brene Brown and are words of comfort and courage to me. Her books on wholehearted living and letting go of perfectionism are guiding beacons.
The tags were cut using a Tim Holtz die, and then covered in book paper. I used Red Brick Distress Ink to colour each tag and splattered water to create the texture.
The altered playing cards and words were attached with gel medium, and then splattered with black acrylic paint.
I chose the tag that had the message I most needed to hear and incorporated that into my Life Book layout.
Wednesday, June 29, 2011
Shabby Snowman
Technique: Papercraft
Materials:
corrugated card
acrylic paints
blue mica (or perfect pearls)
glitter
music paper
craft snow
snow sprinkles
crackle medium
glossy accents
Distress Ink
* Faded Denim
Tools:
Tim Holtz Alterations
* Winter Wonderland die
* Tags and Bookplates die
Movers and Shapers die
* JOY
Sizzix Big Shot
The challenge at Simon Says Stamp and Show this week is to Show a Word.
The tag is made from corrugated card and the top layer is peeled back to shabby it up and show the corrugations underneath. You will notice from the photo below that I have left the part that sits under the snowman's belly intact, to allow for smooth adhesion of the layers that will be applied there. It's then painted with white acrylic paint, faded denim distress ink, pthlao blue acrylic paint,and blue mica.
Cut three snowmen from corrugated card, cutting JOY into the belly of one and cutting out an oval in the belly of the other, and reserving the last to cut out a hat, a nose and an arm. Cut an oval out of music paper and glue that down under where the belly will be, then glue the snowman with the oval in his belly over the top of that.
Dry brush the entire piece with craft snow, piling it up in places where it would build up naturally, such as the top of the hat, and make a nice pile of it inside his belly oval, but not that high that you can't glue the top snowman into place.
Paint the snowman's spare parts and paint the snowman with the joyful belly. Apply a coat of crackle medium to the snowman and let that dry completely, then highlight the cracks with faded denim ink, this gives it an icy look. Glue the joyful snowman and all the pieces into place with glossy accents and brush again with craft snow, piling it up again around the spaces in the word JOY. Add a touch of glitter for some sparkle, I also added some snow 'sprinkles' which is essentially a white, non sparkly glitter that looks like snow.
Try as I might I couldn't get the camera to pick up all the details, the crackle on the snowman glitters like ice, the snow drifts inside his belly sparkle, the blue mica shimmers which is a lovely contrast to the matte snow sprinkles. The whole tag has such lovely texture, I wish it snowed here in South Australia!
Monday, June 6, 2011
Hot Chocolate Tag
Technique: Stamping
Materials:
Holly Cheer Cocoa digital stamp
watercolour paper
Tim Holtz Distress Inks:
* Sage Green
* Aged Mahogany
* Vintage Photo
corrugated card
eyelets
ribbon
Tools:
printer
scissors
blending tool
aqua brush
corner punch
eyelet setter
Big Shot die cutting machine
Tim Holtz Alterations
* Tags and Bookplates die
The details haven't come up as nicely in the photo as I would have hoped, but this really is a lovely tag. The combination of rustic corrugated card, with the lacy scallops on the edges, the soft vintage colouring from the distress inks, and the hand made 'designer paper' featuring the word chocolate, it all fell into place beautifully.
Create the base tag and a square book plate out of corrugated card using your Big Shot and the tags die. If you have a sizzix and don't have the tag die yet, it's awesome! If you don't have a sizzix or similar you can cut a tag from corrugated card manually.
Print or stamp your image onto water colour paper. Using an aqua brush and the distress inks listed, colour in the mug of cocoa. When finished, cut your image out.
You can download the word art I created here. It's nothing flash, simply the word chocolate in a font called Everyday Ghost repeated down the page. This part didn't pick up well in the photo, but it's repeated in a very pale sepia colour except for the word that is framed by the book plate, which is in a dark brown. I printed this onto a piece of linen card, used the punch to create the decorative edges, and then aged them with vintage photo distress ink.
Once your components are complete, its a simple matter to glue the layers in place. Set the plate into place over the word chocolate and secure with co-ordinating eyelets.
I made this tag especially for the Winter Wonderland Challenge this week, the theme this week is "The Foods of Christmas".
Wednesday, May 18, 2011
Soup Recipe Card
Technique: Papercraft
Materials:
corrugated card
recipe card
vintage images (see below)
string
paperclips
Tim Holtz Distress Inks:
* Vintage Photo
* Soot Black
blending tool
scissors
glue dots
chipboard letters
1200 grade sandpaper
Tools
steel ruler
stanley knife
cutting mat
scissors
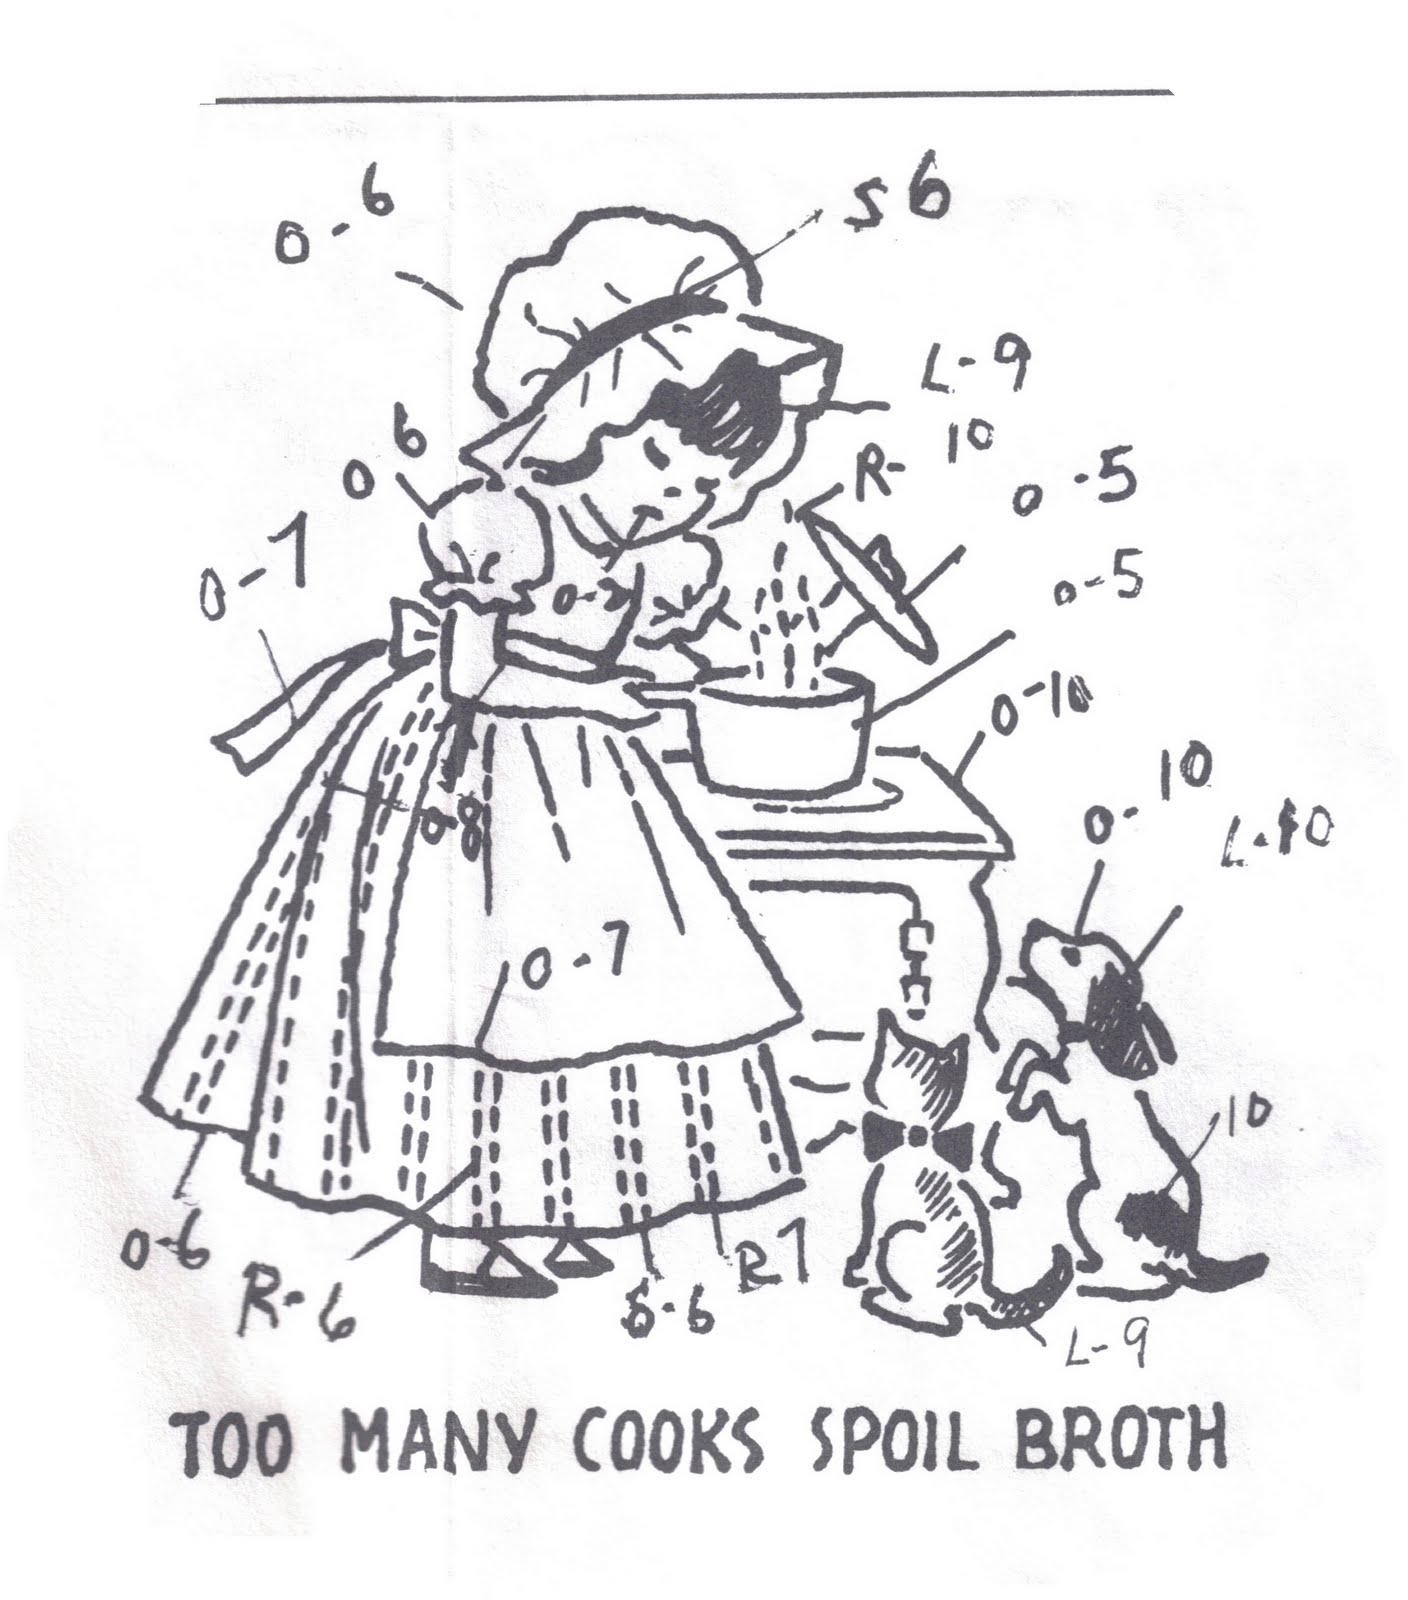
The inspiration behind this one was the Simon Says Stamp and Show Challenge, the criteria this week being an "old wives tale". I took a day mulling over what an old wives' tale actually is, and which one I liked the most. The DT over at Simon Says have used a combination of old wives' tales, superstitions and proverbs, so I felt comfortable choosing "Too Many Cooks Spoil The Broth" as my challenge entry.
I love these challenges as they really get the creative juices flowing. I'm a pretty practical person, and whilst I can admire art in all it's forms, when it comes to making something myself the first question I usually ask is "what will I do with it once it's done". If it's just going to become another object to dust on cleaning day, then I will rethink it's purpose. I love beauty and functionality. So for this project I thought the theme I chose really suited a series of vintage style recipe cards.
Method:
Use a recipe index card as a template to cut the base from corrugated card. If you have a tab style die cut you could use this also, or you could cut one directly from a manila folder, which ever suits you best.
The recipe card itself was a lot of fun to create. Start with a regular recipe card and trim it down so that it is nicely framed by the backing card. Using a lead pencil, cover the card in cursive writing, then sand it back to really dull and fade the writing. Finally, use Vintage Photo distress ink to age the edges.
Print the image below twice, one quite large so it forms the title on the side, and a second time at a smaller scale to put in behind the image of the girl. Distress and age both until you have an effect you are happy with. I find that distressing the edges helps each layer to pop out from the one below.
The main image that I used of the girl is from a vintage embroidery pattern I found on Tipnut. There's six in the collection, all of which I plan to use to make subsequent recipe cards.
Ink chipboard letters with Soot Black Distress Ink. Play around with the layers until you get a design you are happy with and put together with glue dots, staples, paper clips and string.
Thursday, May 12, 2011
Mumu
Technique: Digital Stamping
Materials:
Mumu digital stamp from Mo's Digital Pencil
Tim Holtz Distress Inks
water colour paper
Tools:
aqua brush
printer
Isn't she lovely! I adore Mo's characters, so joyful.
I printed Mumu out on water colour paper, using a laser printer. I bought the laser printer with this purpose in mind, inks that don't run!
My colour palette at this stage is quite limited, this is what I used:
Skin: Tattered Rose
Blouse: Spiced Marmalade
Skirt: Faded Jeans
Shoes: Walnut Stain
Hair: For this I used a black water colour pencil
If you do a google search for distress ink water colour you'll find several different sites with techniques, and youtube has several video clips also.
Mumu was my very first attempt at colouring. The most important thing I learned from this was that the light in my dining room is terrible! I can see in the photo several places that I should have blended more.
That said, I am very happy with the results for my first attempt!
Subscribe to:
Posts (Atom)