Friday, January 26, 2018

Let Yourself Shine


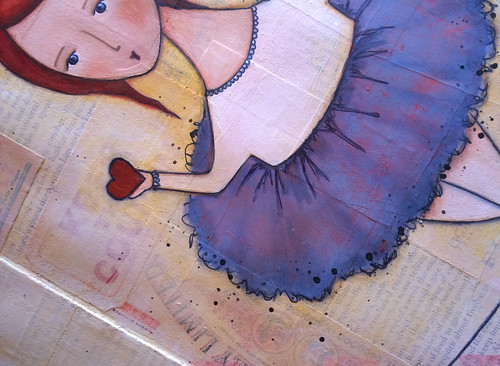
This is a recycled canvas of a painting I did several years ago that I was never really happy with however I couldn't bring myself to just toss the thing away. To prep the canvas for repainting I gave it a light sand and then used an old credit card to apply texture paste over the entire surface. I then applied antiquing medium and once dry used a credit card to scrape white paint loosely over the top. I painted the girl with acrylic paints and then used texture paste to mould the dress.


Once dry I added vintage glitter glue and a phrase typed on my brand 'new' typewriter.


Never be afraid to let yourself shine.

Sunday, January 7, 2018

Santa's Secret Window Frame Ornament


I know that Christmas is over and everyone has packed away their tree, however it is a great time to get junky ornaments at a clearance price and repurpose them into something nicer.

For this project I used the Tim Holtz Window and Window Box die to cut the frame from thick card stock which I painted with acrylics. I printed the Santa image (below) twice and used one for the background image and the other I cut away the background and used foam dots to layer him onto the background to give Santa some 'pop'. The little gem on the front was repurposed from a junky ornament.


If you would like full step-by-step directions on how to create this ornament you can find them on this page.


Entering this into the following challenges:

Crafter's Castle: Anything Goes
Crafty Hazelnuts Christmas Challenge: Anything Goes


Thursday, January 4, 2018

Flower "Pin Up" Girl


Technique: crochet, general crafting

Materials:
clothespin
wooden bead for head
beading wire
flesh coloured embroider floss
white chenille stick
crochet thread size 10 in pink and white
acrylic paints
curly dolls hair


Tools:
scissors
hot glue
wire cutters
No 7 steel hook

Follow the directions here for how to create a clothespin doll.

For the dress you can download the pdf from here.

Thursday, February 5, 2015

Art Society - Plaster Angel

Plaster Angel

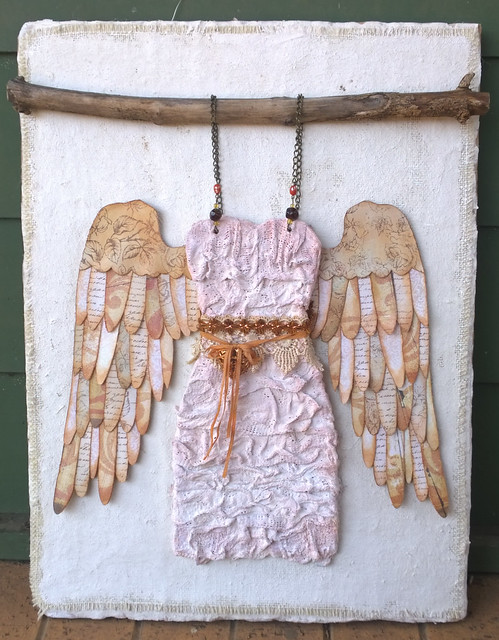
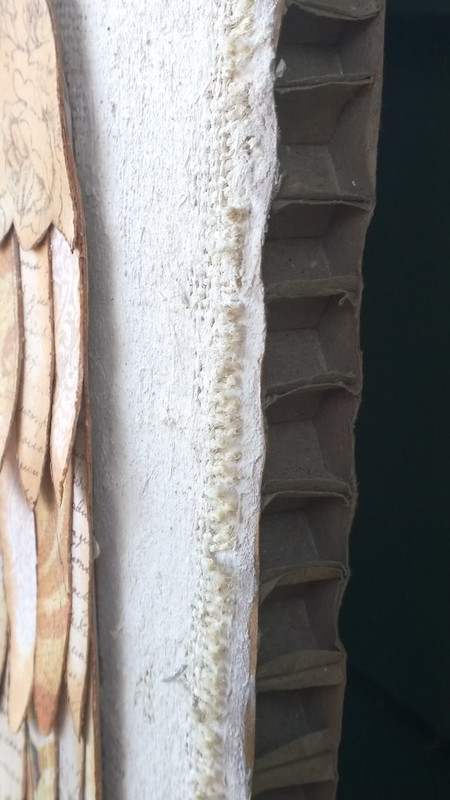
This project was taught by the fabulous Christy Tomlinson via her monthly Art Society Club. This project taught us how to make our own canvas using burlap and plaster of paris to cover a piece of recycled cardboard. You can see that I started with a very thick piece of corrugated cardboard as my base.

  Plaster Angel

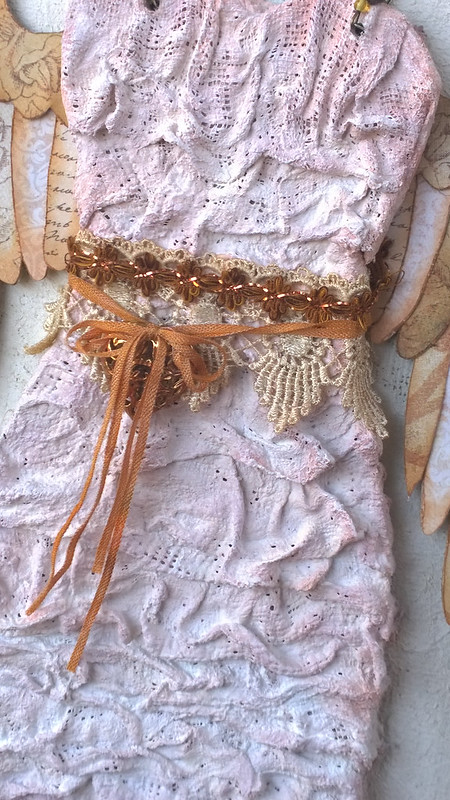
The dress form is also plaster wrapped around a cardboard base. I used pre-purchased plaster bandages and they are just fabulous. They become silky and buttery very quickly and are a dream to work with.

  Plaster Angel

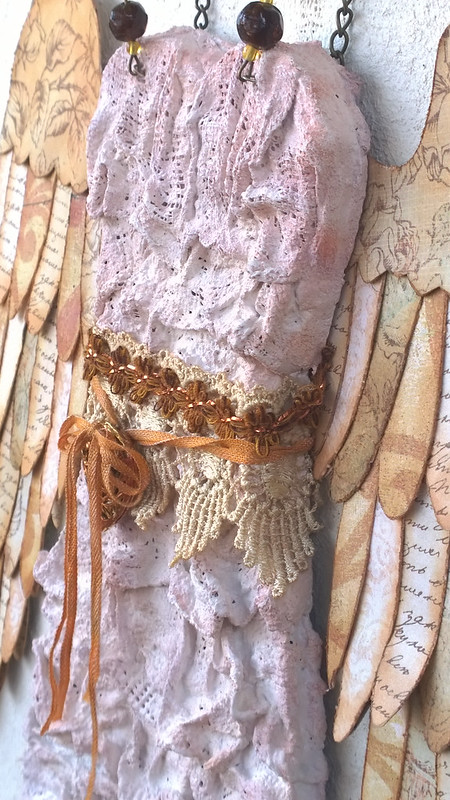
The plaster strips start take about 15 minutes to start to harden, and a good day to dry thoroughly. I coloured mine with distress inks and gesso. The plaster sucked up a lot of the colour, and although it doesn't look like it, the dress has about 5 coats of colour added to it.  Look at all that delicious texture!


Plaster Angel


The wings are cut from various scrapbook papers, tattered with a distressing tool and inked with distress inks. Each of the feathers are cut individually and glued down in layers to give dimension.
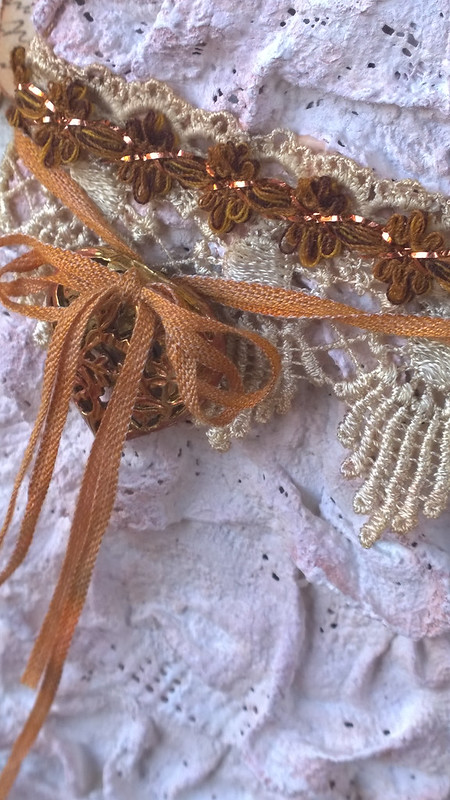
She is finished with a few pieces of hand dyed lace and ribbon with a metal heart taken from a recycled piece of dress jewellery.

Plaster Angel

Saturday, January 31, 2015

Life Book 2015 Creating A Dream Catcher

Life Book 2015 Dream Catcher


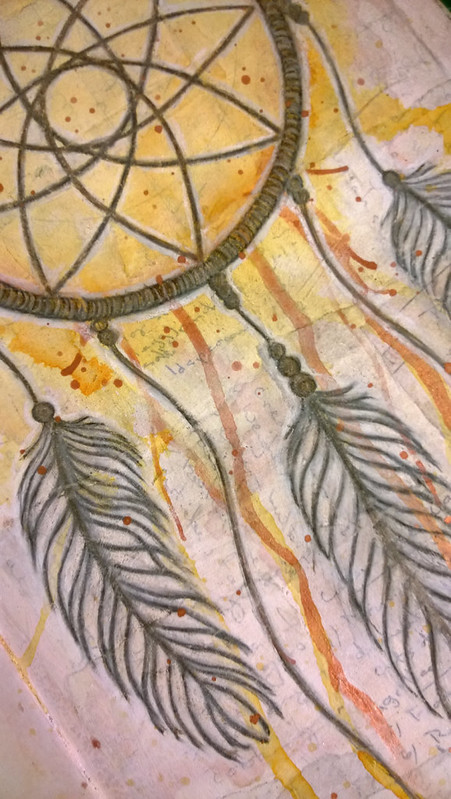
Rachel Rice was our fabulous instructor this week and she guided us through making a dream catcher using a vintage crochet doily and paper feathers on top of a collaged background.

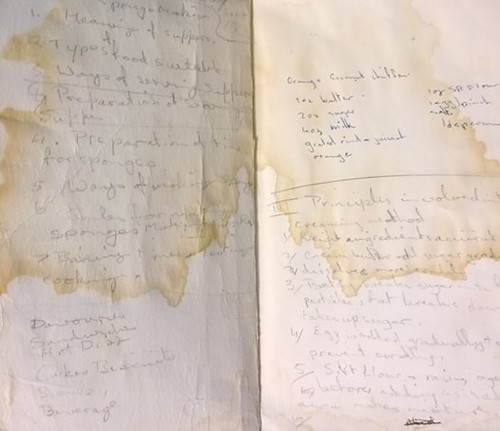
For my background I used a scan of an old text book my Mother used in the sixties when she was in highschool.  It is old and stained and contains handwritten notes inside the covers.  Throughout the lesson Rachel talked about how using the vintage doily connected her to the women that have come before us, and I felt using my Mother's old text book pages did the same thing.


Stained Book


I wanted to avoid the bulk in my journal so I used ink and pencil on top of the collage to create the dreamcatcher.  I'm not sure it ended up being what I envisioned at the start, but I am happy to call this one done!


Life Book 2015 Dream Catcher

Thursday, January 22, 2015

Life Book 2015 Balance

Life Book 2015 Balance

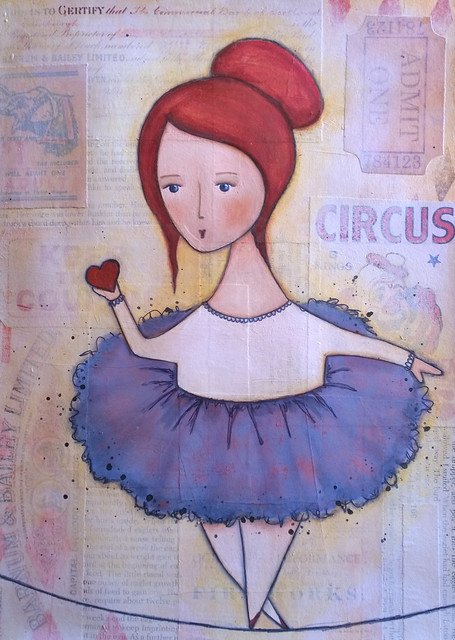
Our guest teacher this week was Patti Ballard  who presented a delightful ballerina on a tight rope painted over collage with the quotation "Courage Dear Heart".

I adjusted the theme to suit me and changed the ballerina to be a full figured model rather than the traditional very thin girl.  I am really noticing that there is little in the way of body positive messages and imagery out there and I want to change that!

 Life Book 2015 Balance


Have a fabulous week!

Wednesday, January 14, 2015

Art Society - Standard Of Grace

Grace Tag


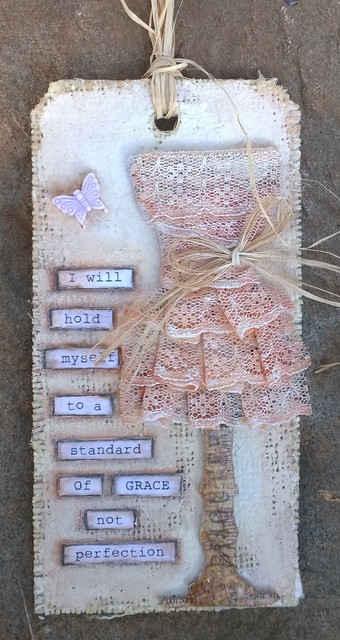
I just love Christy Thomlinson's artistic style, unlike mine it's so free and spontaneous.  This project is inspired by her monthly Art Society Club.

The tag is covered with burlap and plaster of paris.  The dress form is a Tim Holtz die covered in book paper.  The dress is made from strips of lace dipped in PVA glue, then dyed with distress ink and dry brushed with acrylic paint.

Life Book 2015 The Artful Wordsmith

Life Book 2015 Artful Wordsmith


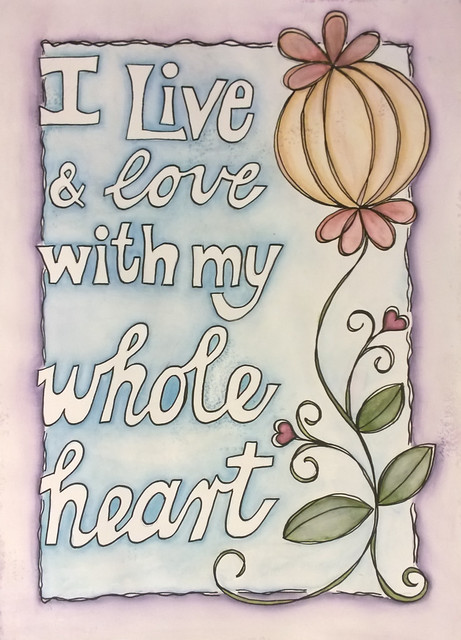
Our tutor this week is the fabulous Joanne Sharpe!  I have always disliked the look of my own handwriting in journals, so I was thrilled to learn some new techniques that turn my own handwriting into letting.

This piece was done in my Dylusions journal using a black Posca pen to outline and distress markers to colour.  I think the next time I do a piece like this I will use a more vibrant medium than the distress markers, but overall I am ok with how this turned out.

The quote "I live and love with my whole heart" is by Brene Brown, who is apparently my muse this year!

You can see the little speckles where the gesso didn't give 100% coverage, but I think I am ok with that!


Life Book 2015 The Artful Wordsmith

Saturday, January 10, 2015

Life Book 2015 - Playing Tag


Quotes by Brene Brown - Tags


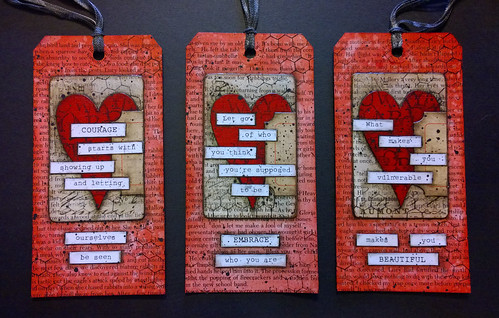
Continuing with Week 2 of Life Book 2015 with guest artist Roben-Marie Smith.  The focus of her lesson was to create a quick tag using pre-printed art.  I had four altered playing cards lying around doing nothing so I decided to use those on my tag.


Quotes by Brene Brown - Tags


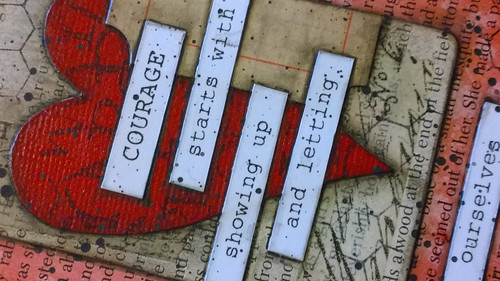
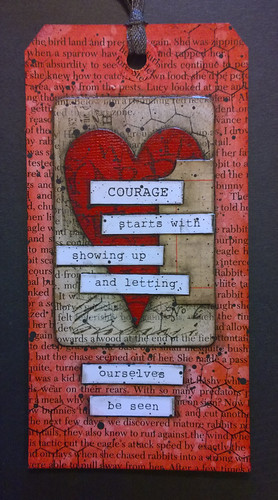
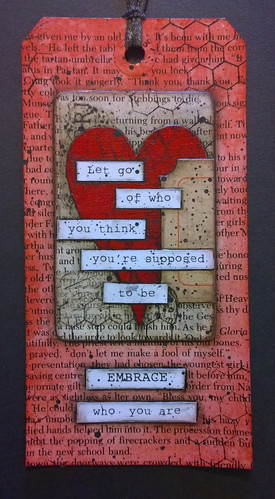
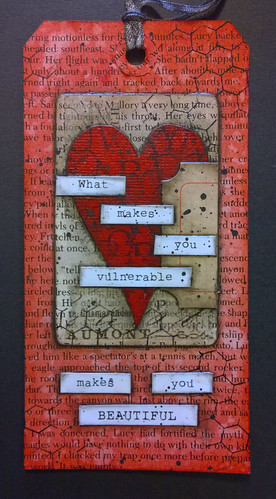
Each of the quotes is by Brene Brown and are words of comfort and courage to me. Her books on wholehearted living and letting go of perfectionism are guiding beacons.


  Quotes by Brene Brown - Tags

The tags were cut using a Tim Holtz die, and then covered in book paper. I used Red Brick Distress Ink to colour each tag and splattered water to create the texture.


Quotes by Brene Brown - Tags

The altered playing cards and words were attached with gel medium, and then splattered with black acrylic paint.


  Quotes by Brene Brown - Tags 

I chose the tag that had the message I most needed to hear and incorporated that into my Life Book layout.


Wednesday, January 7, 2015

Life Book 2015 - Joy Jar

Joy Jar

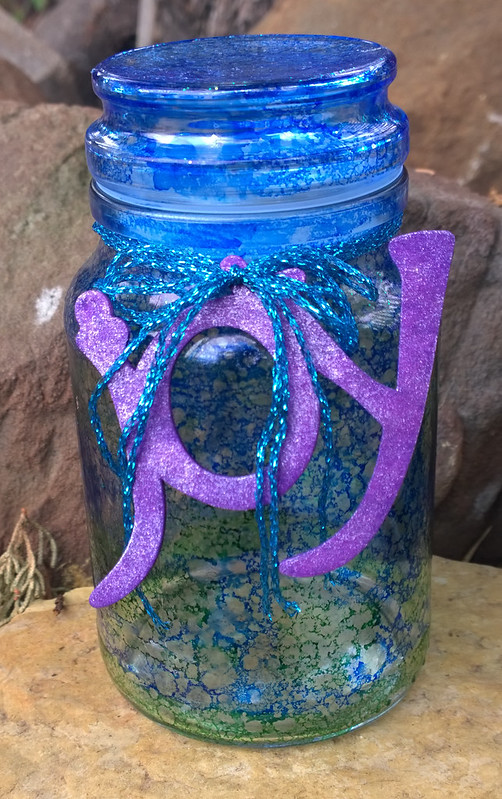
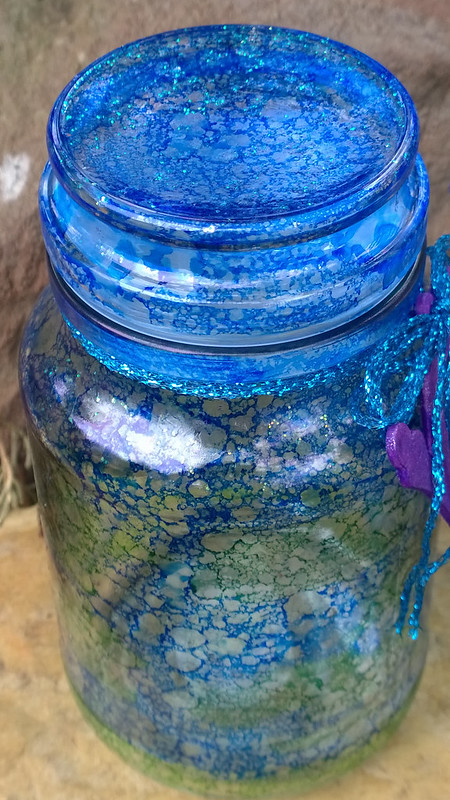
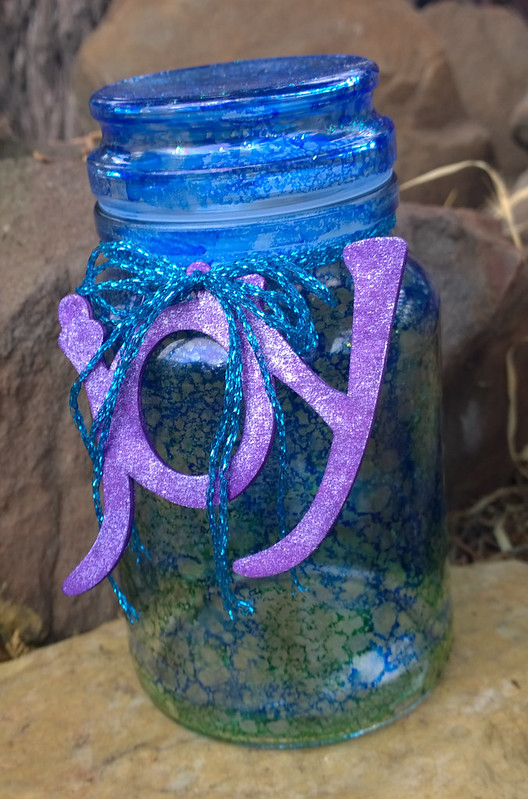
Week 2 of Life Book introduces a fun project called the 'joy jar'.  The idea is to keep the jar somewhere prominant and every time something joyous happens write it down on a slip of paper and pop it into the jar.  Continue to fill the jar throughout the year, then on New Years Eve open it up and reminisce about all the joyful things that happened throughout the year.

The tutorial showcased a collaged jar, but I wanted my jar to remain transparent so that you could see the scraps of paper inside as it fills up.  I used copic markers to colour the jar in blues and greens and then spritzed it with isopropyl alcohol to get the mottled effect.  I really loved the bubbly effect this technique created.  The copic markers are alcohol based, once dry they won't smear or smudge.  I also added a sprinkling of fairy dust (glitter).

Joy Jar

The 'joy' tag is a wooden ornament I bought at a thrift shop a few years ago, sprayed with ink and then rubbed with iridescent medium to give it some shimmer.  This was a really simple project, but I think the end result was really special!  Have yourselves a joy filled day!

Joy Jar

Monday, January 5, 2015

Life Book 2015 - Beacon Of Light

Beacon of Light

It is my favourite time of the year!  Life Book 2015 has just begun and I still have eight weeks before semester starts so I get to relax and enjoy creating.  This is my third year joining Tamara Laporte for her year long art journalling course.  It is by far the best value art course available, 52 lessons throughout the year at less than $3.00 a week.

The first lesson from LB2015 is to create a 'beacon of light', an artistic/spiritual guide for the year. I used dictionary paper to create the dress on my girl and my intention for the year is to let go of the need to be perfect.  This is embodied by the heart on the dress which is featured on the cover of the Brene Brown book "The Gifts Of Imperfection".

After creating the pencil sketch the page was primed with clear gesso and then painted using a combination of Neocolor II watercolour crayons, acrylic paints and Tim Holtz Distress Inks and Markers.  A little sprinkle of pixie dust (aka glitter) and she really came to life!

Beacon of Light