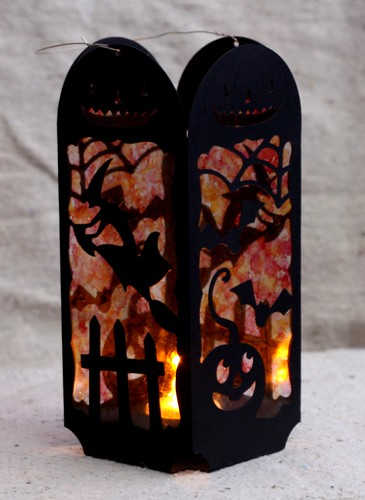
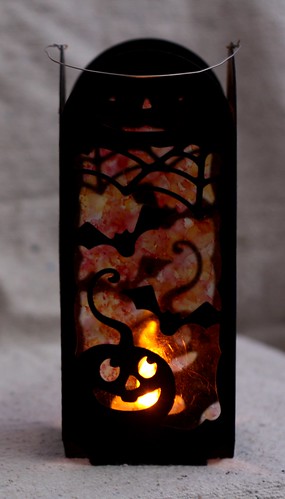
This is a project my son and I created together. My boy is 12 years old and I think he loves my Cricut almost as much as I do! I have taught him how to use the SCAL software and he knows how to import the cut files, how to load the paper into the Cricut and use the cut function to get it cutting. The only thing I did was add and remove the paper on and off the cutting mat, and glue the final pieces together, the rest was all him!
Because of the transparencies and being able to see right through the lantern to both sides I fear I haven't been able to photograph the luminary in such a way as to do justice to it, but hopefully you get an idea of how striking it is when it's dark and the tea light is turned on. (Note: as this is paper only use a battery operated tea light).
The lantern is comprised of four simple panels which are glued together and then attached to the base. The pattern is from the Midnight Jamboree collection which you can find at SVG Cuts. I used plain black card stock, and recycled acetate from packing so in total the whole project only cost a few cents to make.
The wonderful stained glass was my idea, implemented with total glee and abandon by my son. I cut out four pieces of acetate and then gave my son red and orange copic markers and told him to colour it in as messy as he wanted. He loved that part, he giggled the entire time! I then used a spray bottle containing isopropyl alcohol to mist the acetate which causes the copic ink (which is alcohol based) to bleed and blend into each other creating the gorgeous multicoloured stained glass effect.
Linking this up with the fabulous folks at Make It Monday.


Fabulous luminary! Thanks for sharing how you made the stained glass - it is beautiful! Saw this on MIM!
ReplyDeleteWhat a luvely lantern! Really like the way the light shines through the image. Saw your project on MIM. I am no. 74. Hugs Frea
ReplyDeleteWhat a great lantern! Love the spooky Halloween feel of it! I spotted this on MIM.
ReplyDelete