Showing posts with label vintage. Show all posts

Tuesday, February 7, 2012

Vintage Sewing Card

Vintage Sewing Card

Card Positioning Systems is celebrating their 5th Anniversary by releasing a sketch a day for 15 days.

This card is my interpretation of the day eight sketch. 


The card base is Kraft once again, the patterned paper with the sewing patterns is called Dressform from the Timeless Collection by Kaisercraft, and the centre panel is from the Domestic Goddess series by Graphic 45.  A paper doily provides the lacey ruffle and the accent is a paper rose made from coffee filter paper and the Rose Creations die by Spellbinders.


Monday, March 7, 2011

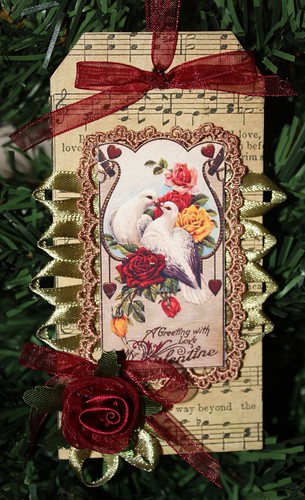
Vintage Valentine Love Birds


Lovebird Tag

Materials:
600gsm card
vintage sheet music
vintage clipart
ribbons
ribbon roses
hot glue
spray adhesive
double sided foam adhesive squares

Tools:
scissors
hot glue gun

This one was a lot of fun for me because I hand dyed the ribbon to match. It's pretty simple to put together. Cut a tag from 600gsm cardstock and glue on the sheet music with spray adhesive. Trim any overhang from the sheet music.


Print the image onto glossy paper using a photo quality printer and setting. Glue loops of ribbon to the back side of the image and mount onto the tag with double sided foam adhesive squares. Embellish with ribbon and roses as desired.

Wednesday, February 23, 2011

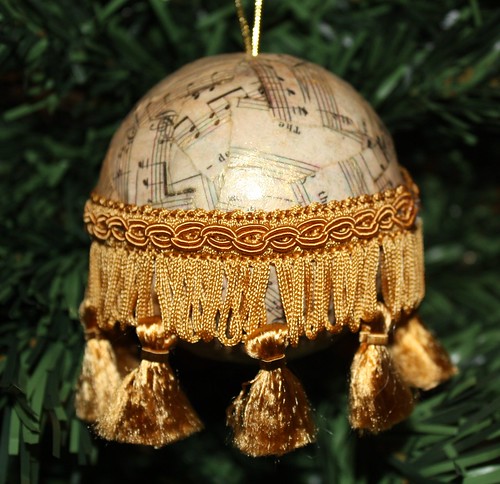
Vintage Music Ornament

Vintage Music Ornament


Technique: Paper Mache

Materials:
Liquitex Gloss Medium & Varnish
sheet music (see below)
styrofoam ball
cord and trim
painting sponge

Tools:
scissors

Vintage is the hot catch word when it comes to decorating, but it's not hard to make something new look old. The Duke University Library has an excellent collection of vintage sheet music here.

I used Ave Maria.

Tear the music into small pieces, about half an inch squares. Using the Liquitex to both glue and seal, cover the entire ball and allow to dry. Give a second coat of sealer and allow that to dry. Rub a generous amount of gold paint over the entire ball with the sponge to 'age' and then wipe off any excess. This gives the ball a lovely golden look. Pin or glue trim and hanger into place.