Showing posts with label teddy bea. Show all posts

Thursday, January 26, 2012

Teddy Bo Milk Cartons

Teddy Bo & Bea Cartons

Materials:
Kraft card
Newsprint by Kaisercraft
Frayed Burlap Distress Ink
Teddybobea_Tabs_002 digi aka "Three Little Piggies"
Prismacolor pencils
novelty bulldog clips

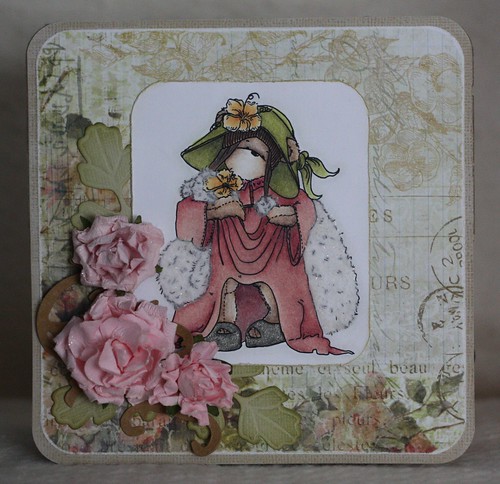
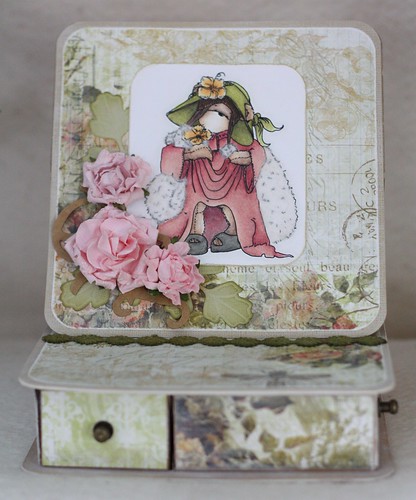
I had been wanting to have a go at making these adorable little milk cartons for a while now, and receiving my Teddy Bo digi was the push I needed to get me started.  The digi comes with three panels, which are perfect for the side of the cartons.

Teddy Bo Carton

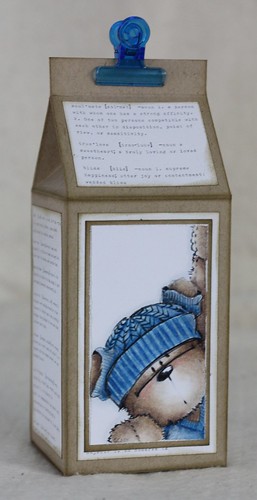
I've coloured the little bears with Prismacolors, I am finding them harder and harder to put down.  They seem much more forgiving than the Copics, although my thumb was complaining quite a lot after colouring these three.

Teddy Bea Carton

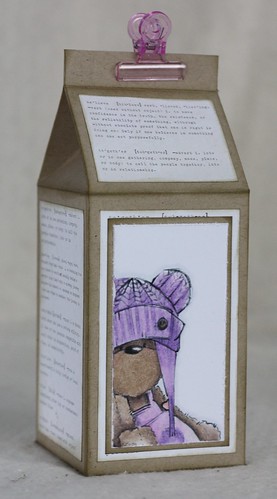
The cartons themselves are made from Kraft card, I used a template I found online as a guide and adjusted the measurements to suit myself.  Each panel of the carton is 2 3/4 inches wide by 4 1/2 inches high.

Teddy Bo & Teddy Bea Carton

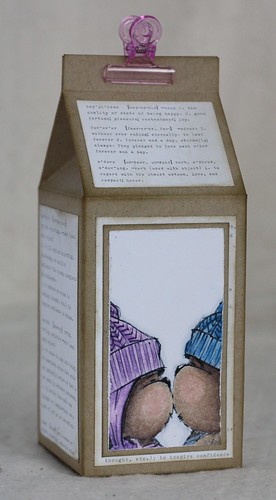
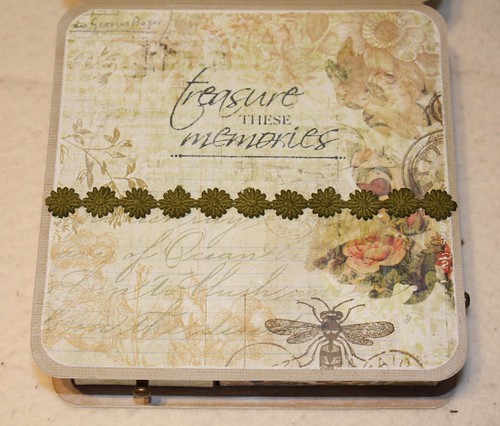
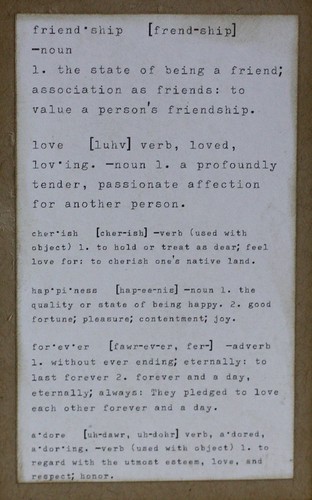
The background paper is by Kaisercraft.  It is the reverse side of a paper called Newsprint, and it has cute dictionary sayings.  Everything has been inked with Frayed Burlap Distress Ink.


I originally planned to give these as Valentine's Day gifts, but I might end up filling them with Easter eggs instead.  These were so quick and fun to do!

Challenges:
Teddy Bo Challenge:  Anything Goes
Make It Monday:  Always Anything Goes #73
Simon Says Stamp:  Anything Goes

Wednesday, October 5, 2011

Shabby Chic Teddy Bea Dressing Table Box

Shabby Bea


Technique:  Papercraft

Images:
TeddyBea_90 "Dressing Up" from Teddy Bo

Papers:
Kraft card
Flower Blooms by Pink Paislee

Pens, Pencils, Inks:
Prismacolor pencils

Other:
Matchbox die cutter
white gesso
Tim Holtz Hitch Fasteners
flowers by Kaisercraft
pink chalk
Rock Candy Stickles

The Teddy Bo Top Tip and "homework" assignment at Teddy Bo this week is to make a Shabby Chic creation.  Shabby Chic certainly isn't my natural style so it was a learning experience for me.  I have to say I think I was helped tremendously by the choice of designer paper, which to me sums up Shabby Chic.  Soft colours, vintage roses, cracked paint, I kind of feel like I cheated a bit and let the paper do all the heavy lifting!

I chose the image of Teddy Bea dressing up as I felt it suited the soft, vintage style that is encapsulated by Shabby Chic and coloured her with Prismacolors.  As this style first originated with renovating old furniture, I wanted to make a "piece of furniture" rather than a card, and made a dressing table box (my daughters are often remarking they have no storage for their trinkets and tid bits).

Shabby Bea


The base and lid of the box are made from thick chip board, covered with kraft card.  The match boxes are cut from kraft and lined with the designer paper.  Our Teddy Bo teacher used white spray paint to shabby her paper with, but I chose white gesso and swiped everything in my path with gesso to give a weathered look, and when dry sanded back to distress.

I stamped a Kaisercraft sentiment "Treasure these moments" on the base and sanded it back to age and distress it.  The catcher for the top portion of the card is a strip of lace hand dyed olive green.

Shabby Bea


I'm still quite nervous about lots of layers, and my natural tendency is the "less is more" philosphy so I added as much embellishment to the top as I was comfortable with!  The prima flowers I used have a lovely vintage feel, Bea's boa has sparkly fluff to simulate feathers, and her shoes have silver gel pen.  The little drawers have hitch fasteners by Tim Holtz, which add a nice vintage feel.

If you haven't participated in the Teddy Bo Top Tip Tuesday, it's a lot of fun and if you use a Teddy Bo image they will kindly send you a free graphic as a thank you for joining.  

I am also entering this at:

Simon Says Stamp Challenge:  Sparkle and Bling