Technique: No Sew Fabric
Materials
styrofoam cone
styrofoam ball of a complimentary size to the cone
scrabs of fabric
buttons or eyes for stuffed toys
coloured pencils
sandpaper
cotton bud
foam glue
white quilt batting
black embroidery floss
raffia
small cuphook
Tools
scissors
serrated kitchen knife
embroidery needle
hot glue gun
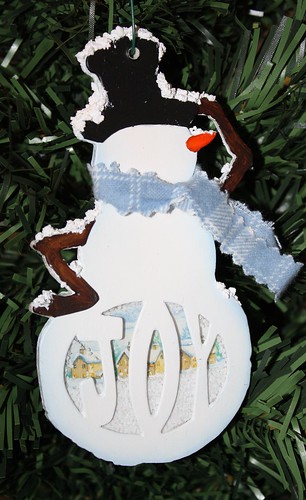
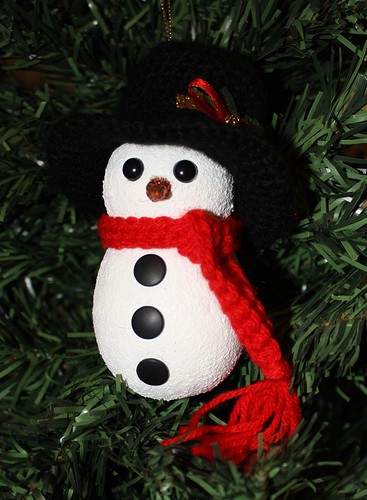
Isn't he adorable! He's really easy to make too.
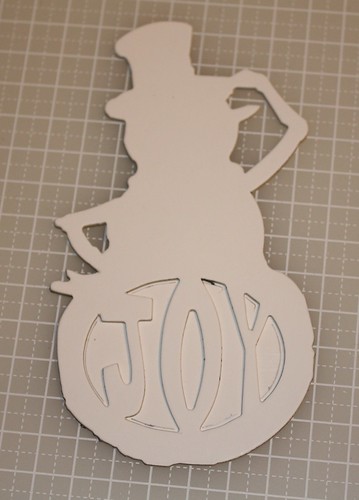
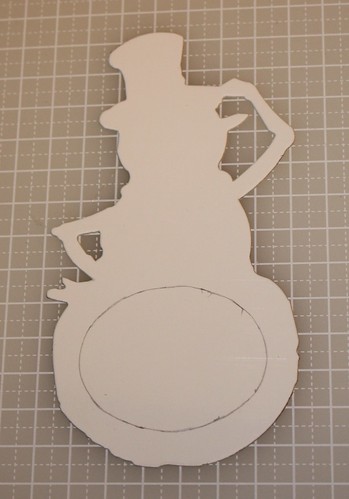
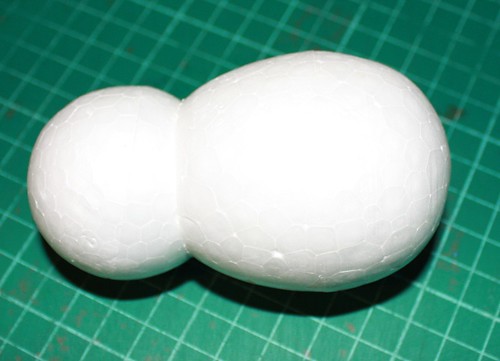
Start with your foam pieces. You want the ball to be a good enough size that it proportionally looks like a scoop of ice cream when placed on top of the cone. Now take a serrated knife and cut off a third from the ball, this helps it sit better and makes it look like the scoop of icecream is sitting inside the cone, just like a real one. I also dug out a little bit from the top of the cone with a teaspoon to give a little cavity for the fabric to sit in, so that the ball would sit flush on top of the cone.
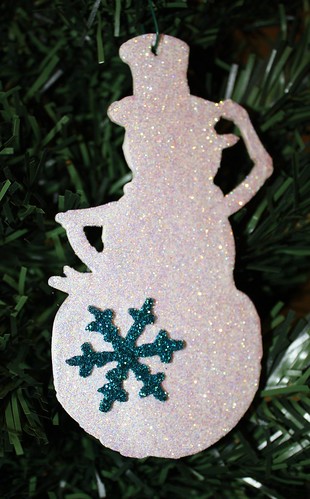
Starting with the head, no glue yet, drape a piece of batting over the ball and draw in the V shape for his mouth. Using the black embroidery floss backstitch in the detail of his mouth. Now you can use foam glue and glue the piece of batting onto the ball, smoothing over the surface and pulling the pleats underneath to get it as flat as possible around the ball.. Once smoothed over I used an elastic band to secure it underneath while I set it to dry for an hour.
Choose a fabric for the cone and glue to cover. You could use 2.5" squares that you have tattered slightly for a more country look if you wish. I used one piece and started by folding a corner over the bottom tip of the cone, and then wrapping around and securing with glue, kind of like wrapping a present. Trim the excess at the top to about half an inch, and secure the excess into the recess you made with foam glue.
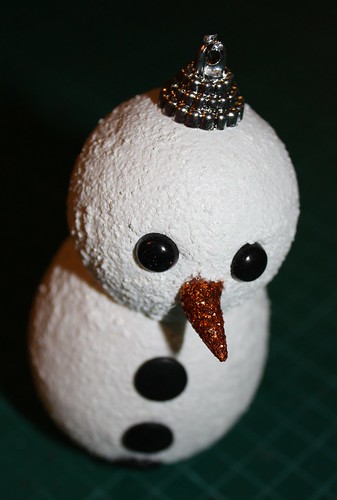
Once the head is dry, trim the batting underneath the ball. Use hot glue to secure the head to the cone. Rub a pink coloured pencil against sand paper so that you get pink coloured dust. Rub over the snowman's cheeks for colour. I used 7.5mm black eyes with screw points designed for use in stuffed animals for the eyes, these are great as you can screw them into the foam and they sit securely. If you cannot get any of these, buttons will be fine, I used a red button for the nose attached with hot glue.
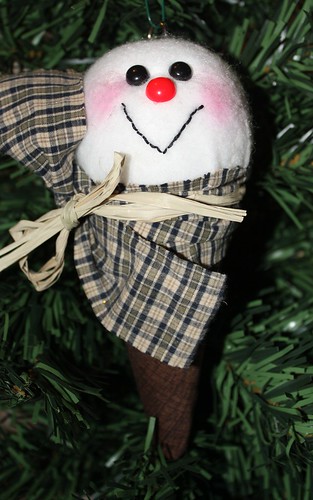
I tore a one inch strip of checkered fabric from an old shirt and wrapped this around the join between cone and head as a scarfe, together with some raffia. To hang, screw a small cuphook into the top of the head.
Start with your foam pieces. You want the ball to be a good enough size that it proportionally looks like a scoop of ice cream when placed on top of the cone. Now take a serrated knife and cut off a third from the ball, this helps it sit better and makes it look like the scoop of icecream is sitting inside the cone, just like a real one. I also dug out a little bit from the top of the cone with a teaspoon to give a little cavity for the fabric to sit in, so that the ball would sit flush on top of the cone.
Starting with the head, no glue yet, drape a piece of batting over the ball and draw in the V shape for his mouth. Using the black embroidery floss backstitch in the detail of his mouth. Now you can use foam glue and glue the piece of batting onto the ball, smoothing over the surface and pulling the pleats underneath to get it as flat as possible around the ball.. Once smoothed over I used an elastic band to secure it underneath while I set it to dry for an hour.
Choose a fabric for the cone and glue to cover. You could use 2.5" squares that you have tattered slightly for a more country look if you wish. I used one piece and started by folding a corner over the bottom tip of the cone, and then wrapping around and securing with glue, kind of like wrapping a present. Trim the excess at the top to about half an inch, and secure the excess into the recess you made with foam glue.
Once the head is dry, trim the batting underneath the ball. Use hot glue to secure the head to the cone. Rub a pink coloured pencil against sand paper so that you get pink coloured dust. Rub over the snowman's cheeks for colour. I used 7.5mm black eyes with screw points designed for use in stuffed animals for the eyes, these are great as you can screw them into the foam and they sit securely. If you cannot get any of these, buttons will be fine, I used a red button for the nose attached with hot glue.
I tore a one inch strip of checkered fabric from an old shirt and wrapped this around the join between cone and head as a scarfe, together with some raffia. To hang, screw a small cuphook into the top of the head.