Technique: Die Cutting/Papercraft
Materials:
600gsm card stock
Tim Holtz Distress Inks:
* Faded Denim
acrylic paints
gel medium or adhesive of choice
old Christmas card
snowy glitter
scrap of acetate
craft snow
spray matte varnish
Tools:
Sizzix Big Shot machine
Tim Holtz Alterations
* Winter Wonderland die
* Base tray or Tags and Bookplates die
Tim Holtz Movers and Shapers
* Joy die
scissors
scalpel
Dremel tool
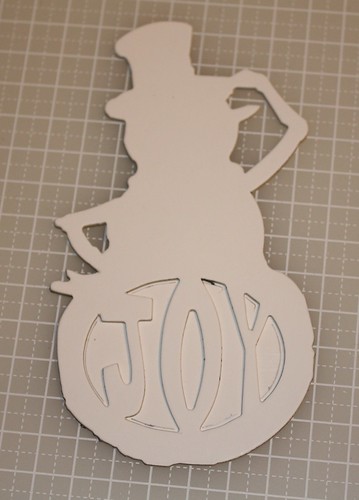
Run four sheets of card stock through the sizzix to get five snowman die cuts. Put one through again using a base tray and the movers and shapers mini die to cut out the word JOY. I don't have a base tray, but the tags and bookplates die has a large enough recess to fit the snowman into without cropping anything off him.
Stack the JOY snowman on top of one of the other snowmen and trace around the inside of the oval.
 |
| Draw around the inside oval. |
When you take away the JOY snoman you will have a series of dotted lines where you drew around the oval, fill in the blanks and you should have an oval shape like this:
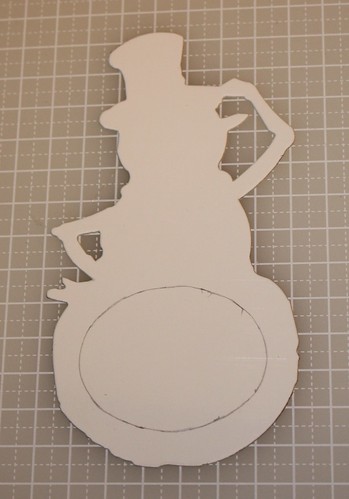 |
| You should have an oval like this. |
Use a craft scalpel or knife to carefully cut this oval shape out. Now use that snowman to draw an oval on a second snowman blank and cut that out. Confused? You should now have:
1 x snowman with the word JOY cut into his belly
2 x snowman with ovals cut into his belly
2 x snowman with no alterations, put one of these aside for now, and use one as the base
Use the snowman with an oval belly as a template to cut a scene from the Christmas card.
Making the base:
Glue the two snowman with ovals to an unaltered snowman base and allow to dry. Glue the scene from the Christmas card into the recessed oval.
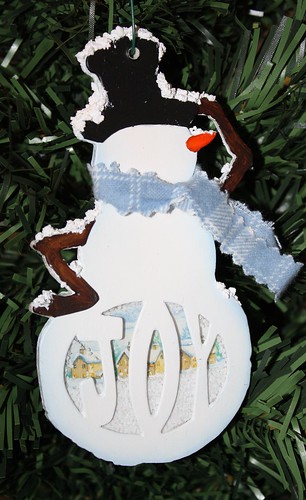
Decorating the top:
Take the JOY snowman and cut away his right arm. Paint him white and ink the edges with a touch of faded denim distress ink. Take the spare snowman and cut away his left arm, his hat and his nose. Paint the hat black, the arm brown and the nose orange. You can also paint the right arm on the base construction while you have the paints out. Spray the snowman with a coat of matt varnish (you do this step now so it doesn't blemish the acetate).
Putting it all together:
You should have a base that has an oval recess with an image glued inside. Cut a piece of acetate about a quarter of an inch larger than the oval recess. Place a little snowy glitter inside the recess and glue the piece of acetate into place to seal it inside. Glue the snowman with the JOY belly into place over the top of that and then glue the hat, nose and arm into place. When dry drill a hole through the hat to hang him by and then add some craft snow.
No comments:
Post a Comment