Friday, October 26, 2012

Nuts About You - Decorated Paint Can

Nuts About You Paint Can

Good morning!  It's a beautiful spring Saturday morning here in Adelaide, I've been to the library, gone for a walk along the beach and now it's time for some coffee and blogging.

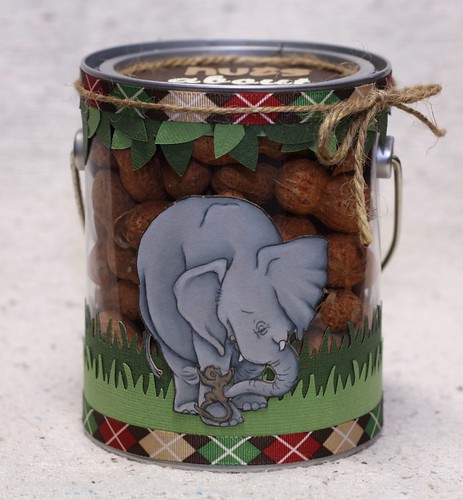
Today I have a decorated paint can to share with you.  I love the way you can see through to the contents, being able to see the colours and textures of the contents adds another dimension, although I think it does make decorating a little more challenging. 

For this can I used a Mo Manning image called Monkey Hug... I might be totally in love with her illustrations and find it difficult to colour anything else!  The image is printed onto Kraft paper and coloured with Prismacolor pencils.  Of course, with both a monkey and an elephant I had to fill the can with whole shell peanuts :o)

I have used a Fiskars punch to get the grass, and I cut the leaves on my Cricut using a free svg file from SVG Cuts called tropical leaf. I also used the Cricut and SCAL to cut out the words "nuts about you", which decorate the lid.
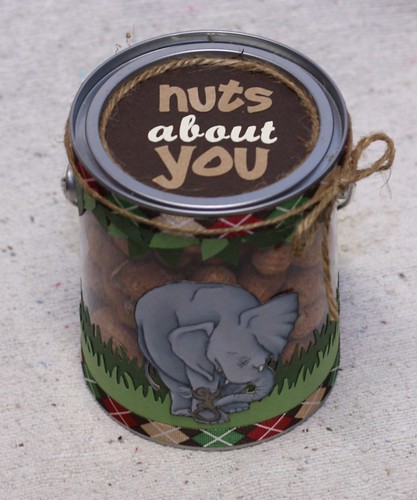

Nuts About You Paint Can

I am linking this up with:

Mo's Challenge Blog:  Cute and Cuddly
Make It Monday:  #112

Monday, October 15, 2012

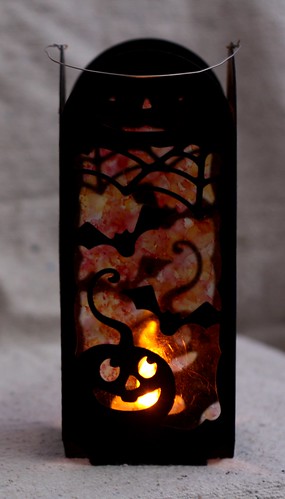
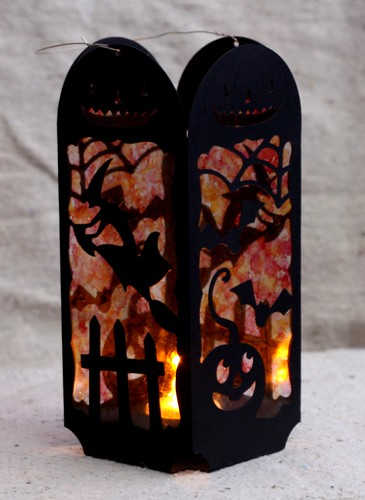
Halloween Lantern


Halloween Luminary

This is a project my son and I created together.  My boy is 12 years old and I think he loves my Cricut almost as much as I do!  I have taught him how to use the SCAL software and he knows how to import the cut files, how to load the paper into the Cricut and use the cut function to get it cutting.  The only thing I did was add and remove the paper on and off the cutting mat, and glue the final pieces together, the rest was all him!

Halloween Luminary

Because of the transparencies and being able to see right through the lantern to both sides I fear I haven't been able to photograph the luminary in such a way as to do justice to it, but hopefully you get an idea of how striking it is when it's dark and the tea light is turned on.  (Note:  as this is paper only use a battery operated tea light).

The lantern is comprised of four simple panels which are glued together and then attached to the base.  The pattern is from the Midnight Jamboree collection which you can find at SVG Cuts.  I used plain black card stock, and recycled acetate from packing so in total the whole project only cost a few cents to make.

The wonderful stained glass was my idea, implemented with total glee and abandon by my son.  I cut out four pieces of acetate and then gave my son red and orange copic markers and told him to colour it in as messy as he wanted.  He loved that part, he giggled the entire time!  I then used a spray bottle containing isopropyl alcohol to mist the acetate which causes the copic ink (which is alcohol based) to bleed and blend into each other creating the gorgeous multicoloured stained glass effect.

Linking this up with the fabulous folks at Make It Monday.

Saturday, October 13, 2012

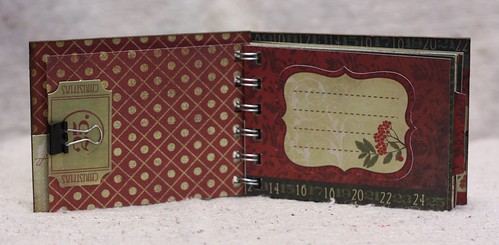
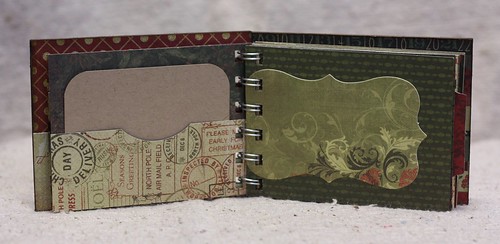
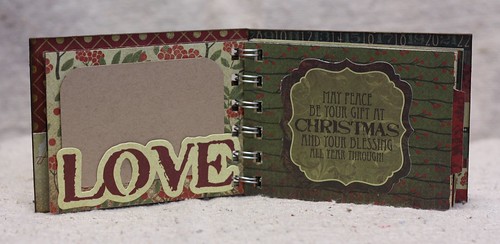
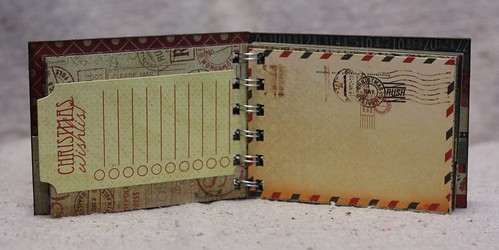
Twig & Berry Mini Album


Twig & Berry Mini Album


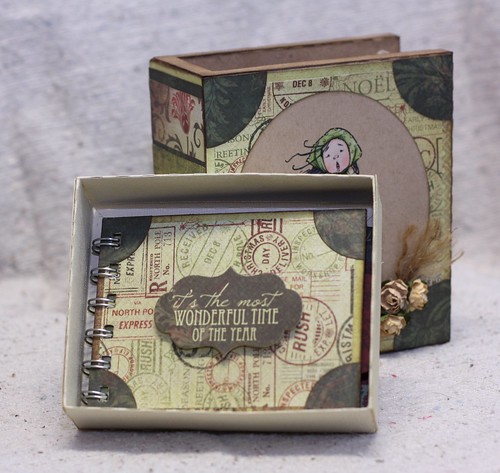
When I made the Maisie Book Box, I knew immediately that I wanted to put a mini album inside it, a book within a book!

Twig & Berry Mini Album


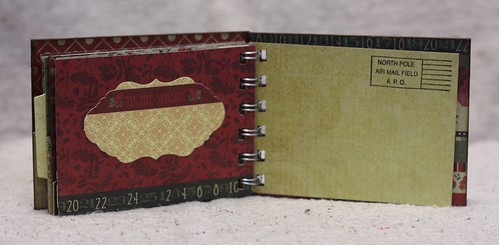
To fit inside the box tray the album had to be 3" x 4".  As you can see from the photo above, once the wire binding was added it made a perfect fit.

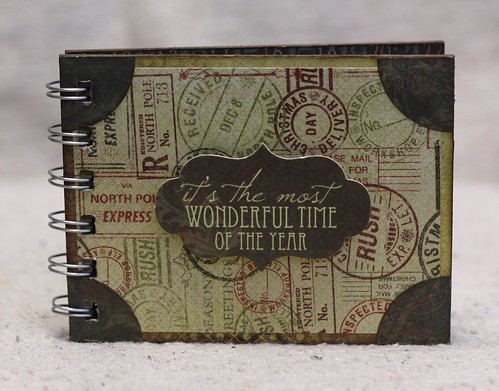
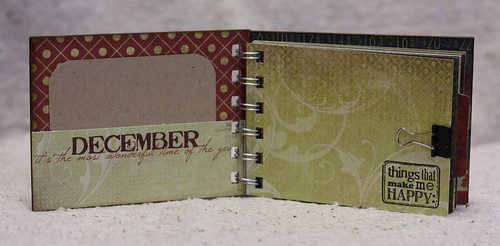
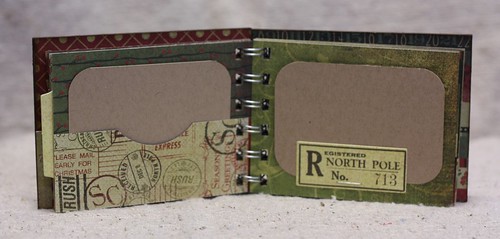
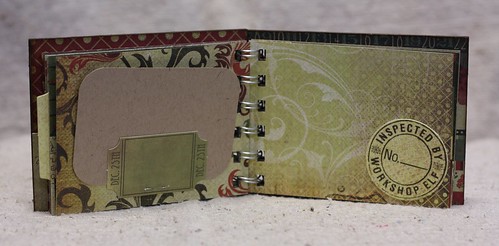
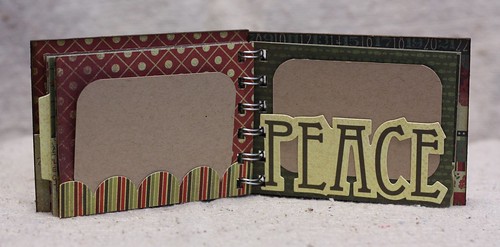
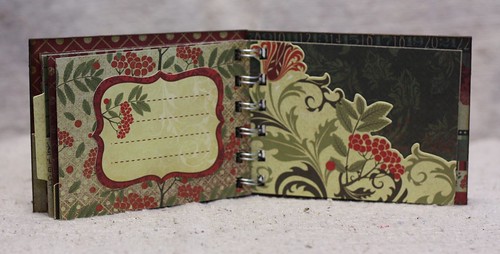
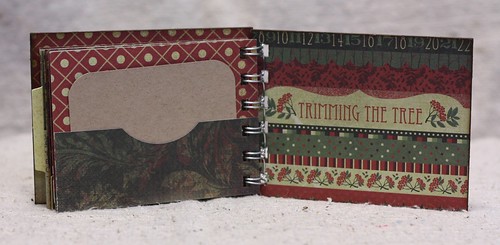
I used the same paper range to make the album as I did to decorate the book box, Twig and Berry by Kaisercraft.  As this is going to be a gift I have used plain kraft card to indicate where photos, tickets, receipts etc can be stored.  There are 10 double sided pages in total, with plenty of built in space for writing.

Here goes, a shot of all 10 pages...

Twig & Berry Mini Album

 
Twig & Berry Mini Album

 
Twig & Berry Mini Album

 
Twig & Berry Mini Album

 
Twig & Berry Mini Album

 
Twig & Berry Mini Album

 
Twig & Berry Mini Album

 
Twig & Berry Mini Album


Twig & Berry Mini Album

 
Twig & Berry Mini Album

 
Twig & Berry Mini Album

 
Twig & Berry Mini Album


I am linking this up to Make It Monday:  Challenge #110

Thursday, October 11, 2012

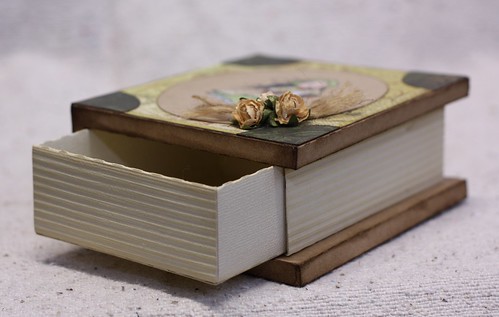
Maisie Book Box

Maisie Book Box


I love old books, so when I saw this project at SVG Cuts, I knew I had to make one.  This book box comes as part of the Spirits of Christmas Past kit, which has 5 projects in total.  I had a few weeks there where I didn't have a sharp blade for my Cricut so couldn't cut anything, I swear I had withdrawals!

 
Maisie Book Box


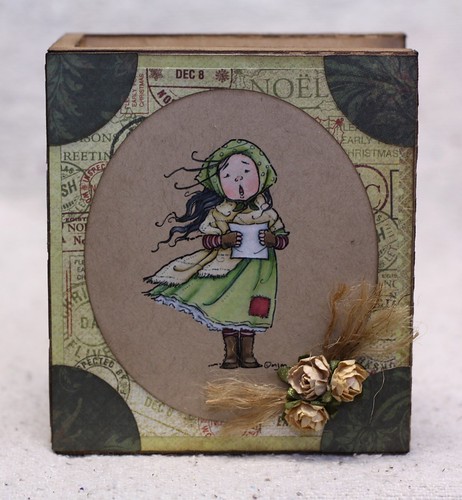
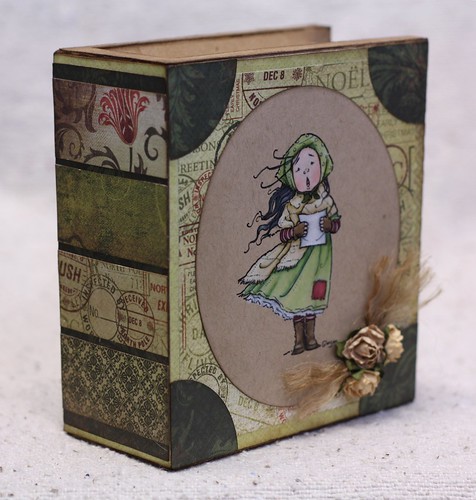
This box stands 5" tall and is 4.5" wide, with a depth of just under 2.5".  I used regular craft card for constructing the base of the box and used the Twig and Berry paper range from Kaisercraft for decorating the panels.  I've embellished with just a simple cluster of flowers and some twine.


Maisie Book Box


The edges of the book have been liberally inked with Walnut Stain Distress Ink, and the inner box panels and the side page panel have been embossed and then treated with Antique Linen Distress Ink.

 
Maisie Book Box


The little draw slides out easily and is very roomy.  I am making a 3" x 4" mini album that will fit nicely inside, hopefully I will have photos to share in a few days.


Maisie Book Box


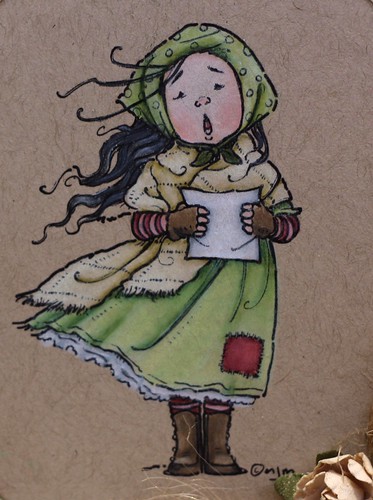
Here's sweet little Maisie, by Mo Manning.  She is coloured on Kraft card using Prismacolor pencils.  I am a little embarrassed to admit I have put my Lyra pencils aside in favour of the Prismacolor, I just love their creamy texture and they blend so beautifully, but mostly because Prisma has almost twice the colour range.

I am linking this up to:

Make It Monday:  Challenge #110
Anything But A Card:  Challenge #3
Mo's Challenge Blog: B is for... (Book Box)