Monday, October 15, 2012

Halloween Lantern


Halloween Luminary

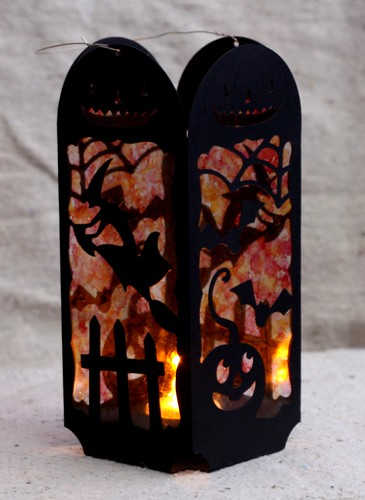
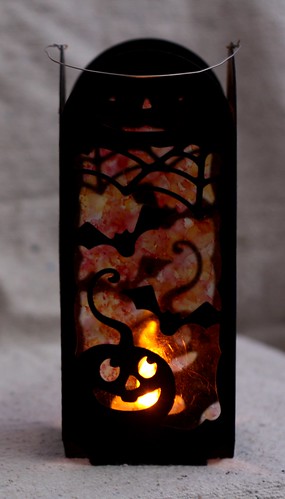
This is a project my son and I created together.  My boy is 12 years old and I think he loves my Cricut almost as much as I do!  I have taught him how to use the SCAL software and he knows how to import the cut files, how to load the paper into the Cricut and use the cut function to get it cutting.  The only thing I did was add and remove the paper on and off the cutting mat, and glue the final pieces together, the rest was all him!
Halloween Luminary

Because of the transparencies and being able to see right through the lantern to both sides I fear I haven't been able to photograph the luminary in such a way as to do justice to it, but hopefully you get an idea of how striking it is when it's dark and the tea light is turned on.  (Note:  as this is paper only use a battery operated tea light).

The lantern is comprised of four simple panels which are glued together and then attached to the base.  The pattern is from the Midnight Jamboree collection which you can find at SVG Cuts.  I used plain black card stock, and recycled acetate from packing so in total the whole project only cost a few cents to make.

The wonderful stained glass was my idea, implemented with total glee and abandon by my son.  I cut out four pieces of acetate and then gave my son red and orange copic markers and told him to colour it in as messy as he wanted.  He loved that part, he giggled the entire time!  I then used a spray bottle containing isopropyl alcohol to mist the acetate which causes the copic ink (which is alcohol based) to bleed and blend into each other creating the gorgeous multicoloured stained glass effect.

Linking this up with the fabulous folks at Make It Monday.

Saturday, October 13, 2012

Twig & Berry Mini Album


Twig & Berry Mini Album


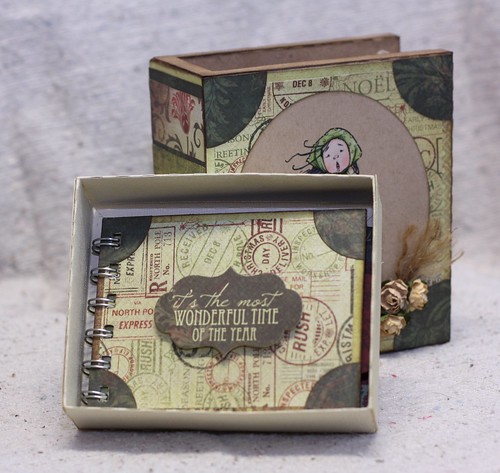
When I made the Maisie Book Box, I knew immediately that I wanted to put a mini album inside it, a book within a book!

Twig & Berry Mini Album


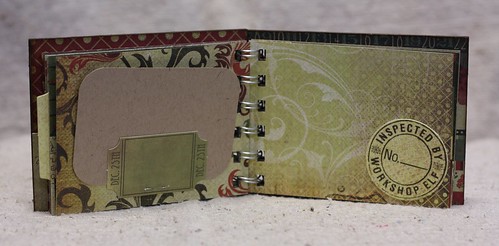
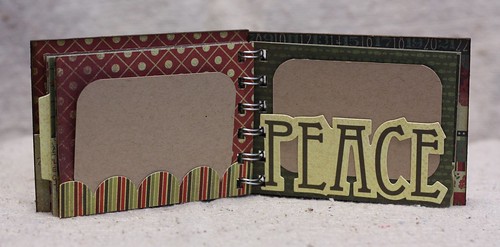
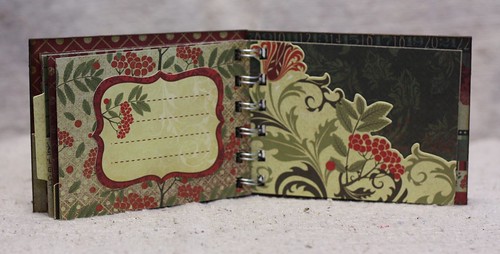
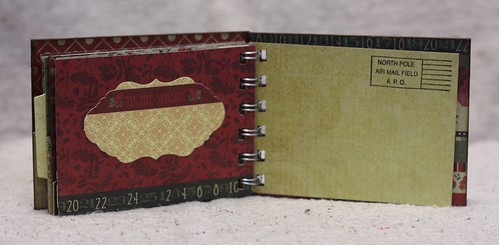
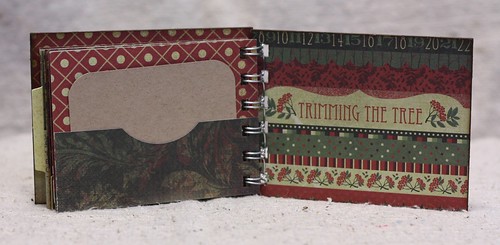
To fit inside the box tray the album had to be 3" x 4".  As you can see from the photo above, once the wire binding was added it made a perfect fit.

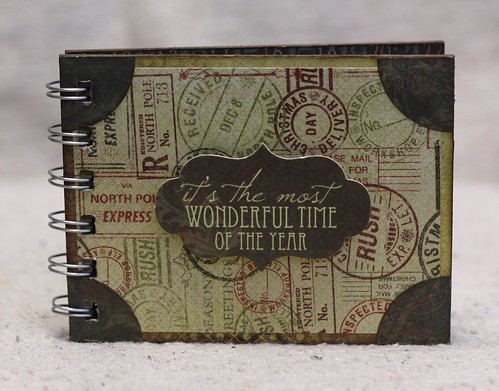
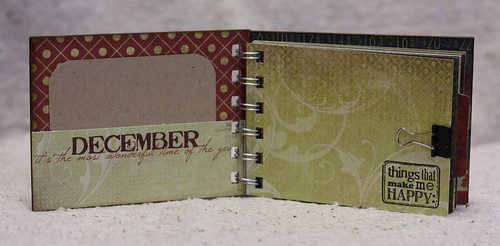
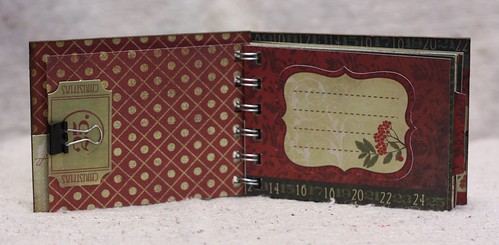
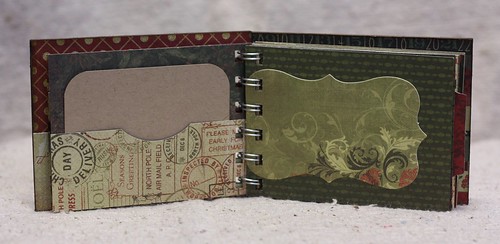
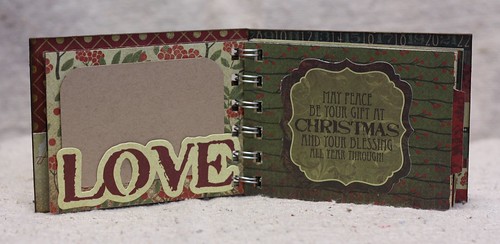
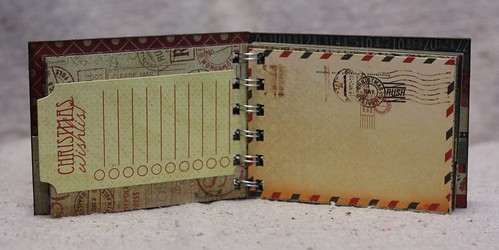
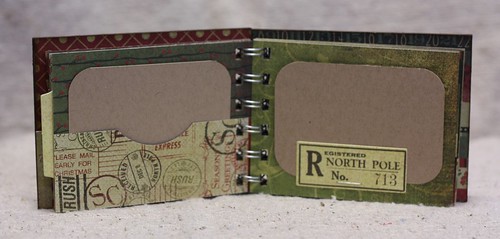
I used the same paper range to make the album as I did to decorate the book box, Twig and Berry by Kaisercraft.  As this is going to be a gift I have used plain kraft card to indicate where photos, tickets, receipts etc can be stored.  There are 10 double sided pages in total, with plenty of built in space for writing.

Here goes, a shot of all 10 pages...

Twig & Berry Mini Album

 
Twig & Berry Mini Album

 
Twig & Berry Mini Album

 
Twig & Berry Mini Album

 
Twig & Berry Mini Album

 
Twig & Berry Mini Album

 
Twig & Berry Mini Album

 
Twig & Berry Mini Album


Twig & Berry Mini Album

 
Twig & Berry Mini Album

 
Twig & Berry Mini Album

 
Twig & Berry Mini Album


I am linking this up to Make It Monday:  Challenge #110

Thursday, October 11, 2012

Maisie Book Box

Maisie Book Box


I love old books, so when I saw this project at SVG Cuts, I knew I had to make one.  This book box comes as part of the Spirits of Christmas Past kit, which has 5 projects in total.  I had a few weeks there where I didn't have a sharp blade for my Cricut so couldn't cut anything, I swear I had withdrawals!

 
Maisie Book Box


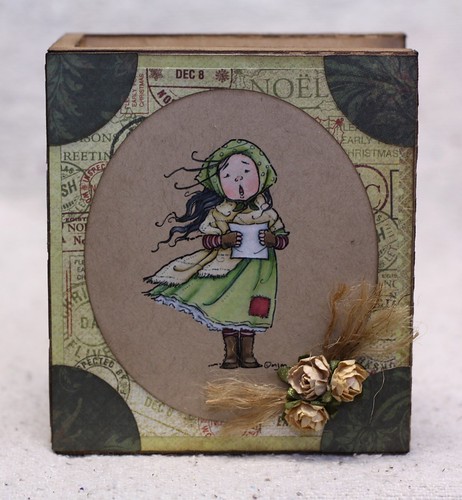
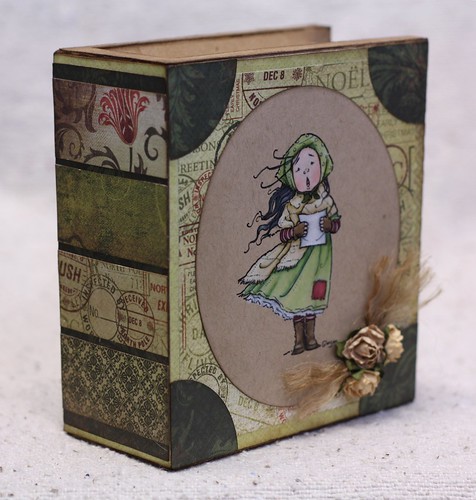
This box stands 5" tall and is 4.5" wide, with a depth of just under 2.5".  I used regular craft card for constructing the base of the box and used the Twig and Berry paper range from Kaisercraft for decorating the panels.  I've embellished with just a simple cluster of flowers and some twine.


Maisie Book Box


The edges of the book have been liberally inked with Walnut Stain Distress Ink, and the inner box panels and the side page panel have been embossed and then treated with Antique Linen Distress Ink.

 
Maisie Book Box


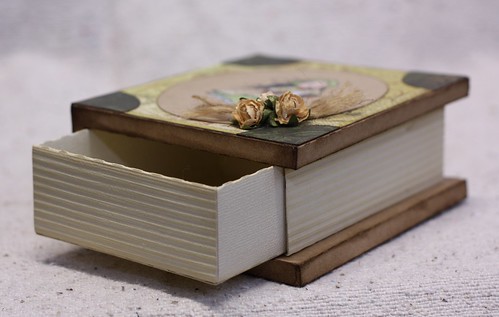
The little draw slides out easily and is very roomy.  I am making a 3" x 4" mini album that will fit nicely inside, hopefully I will have photos to share in a few days.


Maisie Book Box


Here's sweet little Maisie, by Mo Manning.  She is coloured on Kraft card using Prismacolor pencils.  I am a little embarrassed to admit I have put my Lyra pencils aside in favour of the Prismacolor, I just love their creamy texture and they blend so beautifully, but mostly because Prisma has almost twice the colour range.

I am linking this up to:

Make It Monday:  Challenge #110
Anything But A Card:  Challenge #3
Mo's Challenge Blog: B is for... (Book Box)

Sunday, September 23, 2012

I Have Issues!


Hello there!  I hope you had a fabulous weekend :o)

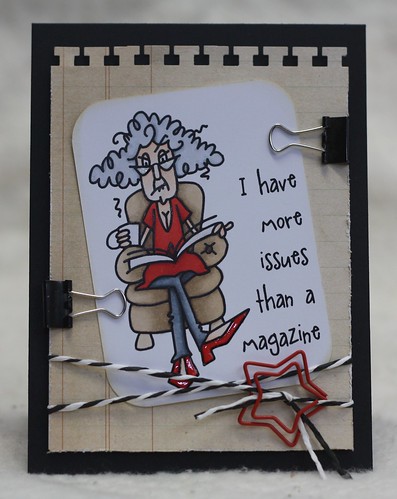
A have a quick little make to share this Monday.  I *gulp* am starting college this Wednesday studying for a Diploma Of Counselling.  I have ordered text books, have my notebooks, laptop, everything all ready to go, and I wanted a book mark that reflected not just my personality but what I am studying.
This fabulous image is called Stella Tidbits - Magazine and you can find her at Bugaboo stamps.  I have coloured her with Copics and used a touch of Glossy Accents on her shoes and her glasses.

The bookmark is simply black card stock, folded at the top just like a regular card, intended to slip over the top pages of the book to mark my place.  I added a few simple office supplies to embellish and I now have a book mark that is completely unique to me!

Sharing this with the folks over at Make It Monday, where it's always anything goes.

Sunday, September 16, 2012

Tea For You And Me

Teapot


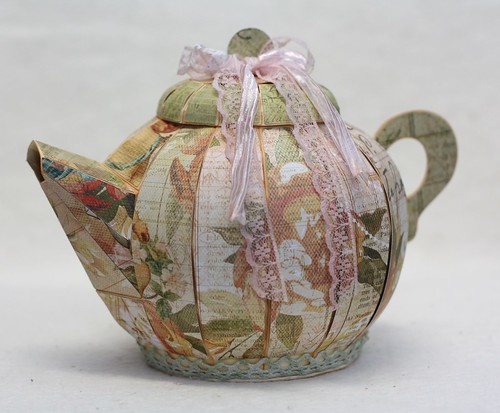
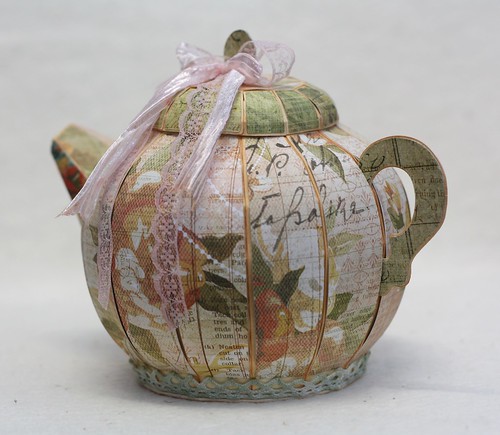
I feel like I have almost forgotten what life was like without my digital die cutter!  This gorgeous project is called Tea For You And Me and comes from SVG Cuts.  There's a lot of pieces that come together, but it's pretty straight forward and Mary at SVG Cuts always does a fantastic step by step video tutorial to take out the guesswork.  Once the machine had done all the cutting I sat and watched a movie while I glued the pieces together, and by the end of the film it was done.

The teapot measures just over 6" tall and lid comes off to reveal a spacious cavity inside that could be used for holding teabags or loose tea.  I think it would also make a fabulous potpourri holder. 


Teapot 

The teapot base is made from plain manila folder cardstock, inked up with Tea Stain Distress Ink.  The pattern paper overlay is from the Sweet Nothings collection by Kaisercraft, and the lace and ribbon trim came from my local haberdashery store, hand dyed with distress inks.

As usual, sharing this with the fabulous folks at Make It Monday, where it's always anything goes :o)
Also linking to the Anything But A Card challenge blog.


Monday, September 10, 2012

Sleigh Treat Holder

Sleigh Treat Holder 

 More fun with my Cricut!

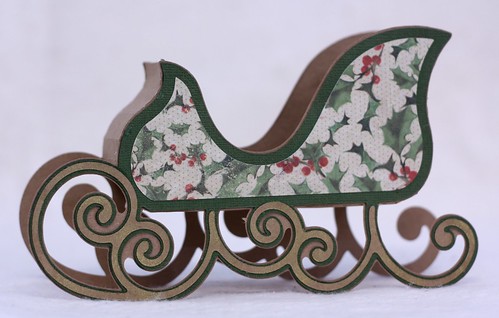
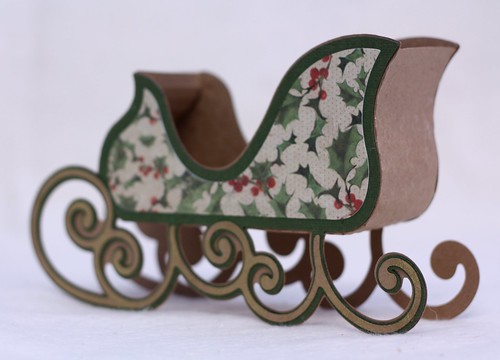
The sleigh above is a file that comes from SVGCuts and is part of the Santa's Visit SVG Kit.  The kit includes the cutting files to create 6 different projects, great value.


Sleigh Treat Holder


I made the sleigh itself from Kraft card, and decorated with patterned paper by Kaisercraft.  The project comes together quickly and easily, and I can definitely see myself making a lot of these as treat holders.

Sharing this project with Make It Monday where it's always  Anything Goes!

Thanks for looking :o)

Saturday, September 1, 2012

Christmas Crafting! Challenge: Traditional Colours


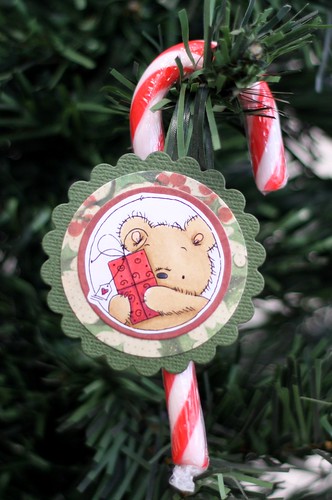
Candy Cane Tag


We're back!  We took a break for a month at Christmas Crafting!, but now with September here I have already seen fruit mince pies in the grocery stores which means the wind up for Christmas is beginning.

Candy Cane Tag


Our sponsors this month are Lilly Of The Valley, who make the most adorable rubber stamps.  They were kind enough to provide the design team with a few images to work with, and our challenge this month was to use traditional Christmas colours.  


Candy Cane Tag


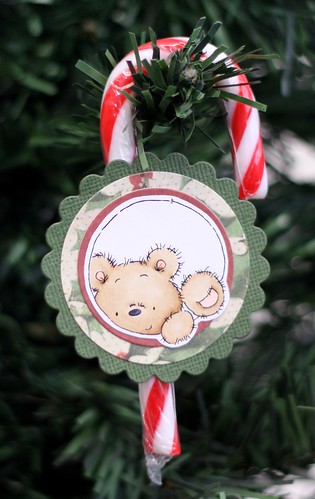
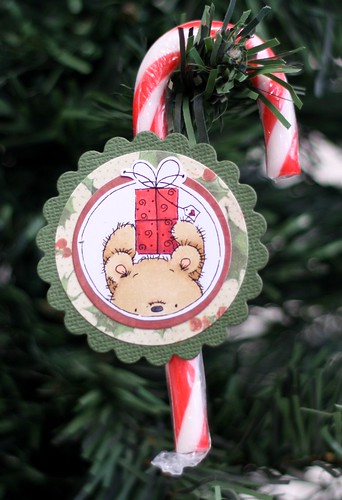
I love projects that are quick and that use up my scraps, and this fit into both categories!  The images are coloured with copics and then cut out by hand.  I used a circle punch and some nesties to create the backing out of Kaisercraft papers.  The whole thing is then taped to the candy cane using tissue tape.  It came together in a snap and would make a great project for kids.

Thanks for looking, and if you haven't done so yet now is a great time to start your Christmas projects.  Before you know it we will be wondering where the time has gone and be rushing around trying to get everything done in time!

Wednesday, August 22, 2012

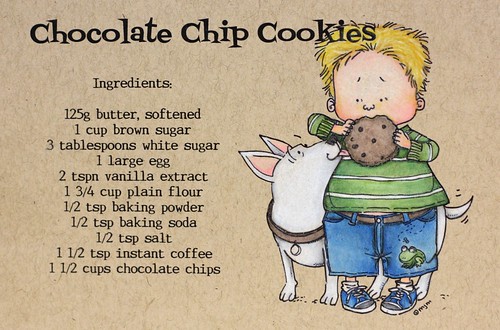
Chocolate Chip Cookie Recipe Card

Cookie Recipe Card


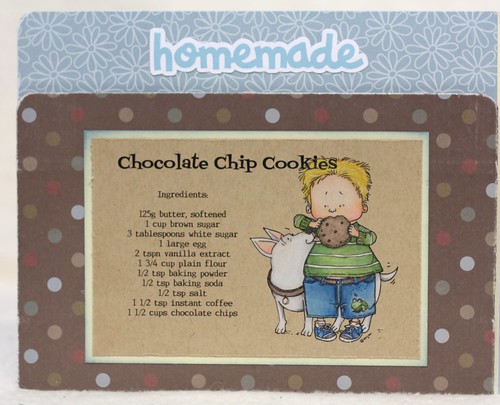
This project is a one 'page' layout from a cook book I am making for my girls.  The project was inspired by a Youtube video created by My Scrap World.  You can watch her easy to follow tutorial here.  It's constructed entirely out of manila folders and presents loads of creative options, and if you have time to watch the video you will get an idea of how this one layout will be made into a recipe folio.


Cookie Recipe File Cookie Recipe File


The recipe card itself is created with a Mo Manning digital stamp called Bronte and Loius.  Such a cutie! The theme this week at Mo Manning's Challenge Blog is "Friends", and there are no greater friends in the world than a boy and his dog.  The recipe and image are printed on Kraft and coloured with Lyra pencils.


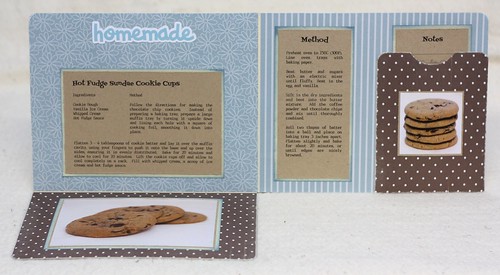
Cookie Recipe File
Cookie Recipe File


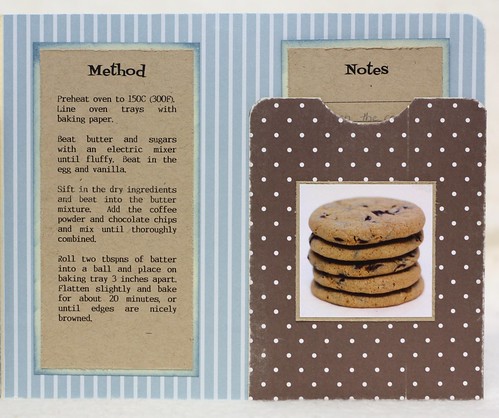
This is a view of the file folder when open, eventually several of these will be be adhered together to create one big recipe file.  The front flap that has the recipe card adhered to it drops down to reveal a recipe for hot fudge sundae cookie cups, as well as a photo of the chocolate chip cookies that I made using this recipe.  Personally I am very visually motivated when it comes to recipes, so I felt it was really important to include photos of what the food actually looks like!


Cookie Recipe File


The paper is from a stack called Country Basics by Crafter's Choice, together with regular old manila card files inked with Faded Jeans Distress Ink. 

Thanks for looking, I hope you are having an awesome day! :o)

Saturday, August 18, 2012

Postage Stamp Card

Teddy Bo Stamp Card 

I finally have my camera back and can start blogging about the new things I have been making since getting my Cricut.  I love having a digital die cutting machine, and am already looking at purchasing another with a larger mat and greater functionality.  So far I am leaning towards the Silhouette Cameo as it is compatible with programmes like SCUT, doesn't require cartridges, and Silhouette have a massive online store with thousands of individual svg files for purchase.

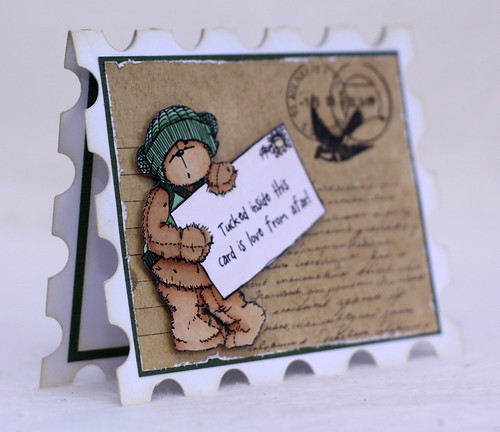
First up is a sweet little card with a postage stamp edge that I created to be suitable for either male or females.  Myy partner is from the States and I thought this would make a good general themed card for him to send back home for various occasions. 

The postage stamp edge is a file that comes from SVGCuts and is part of the Santa's Visit SVG Kit.

Teddy Bo Stamp Card 

The card is created from plain white card to emulate a regular postage stamp, and the I aged the edges inside and out with Antique Linen Distress Ink.  The postcards are taken from a paper by Kaisercraft which have been roughed up with a paper distressing tool, and the sweet little bear is from Teddy Bo, and he has been coloured with Copic pens. 

I am entering this into the Teddy Bo Challenge this fortnight, the theme of which is 'distress it'.

Tuesday, July 17, 2012

Live Out Loud

Sweet Nothings Album


Hello again!

I think as crafters we go through creativity spurts where we find our passions ignited by various ideas.  For me, at the moment, it is mini albums.

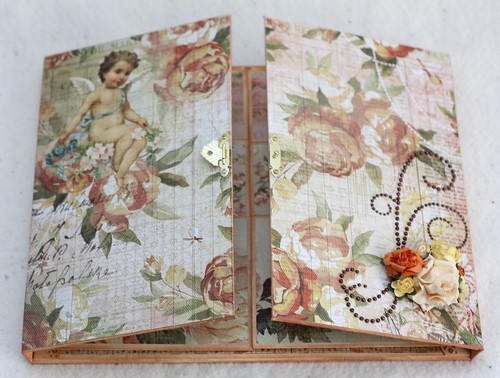
I followed a pattern by Kathy Orta at Paper Phenomenom.  The pattern was very easy to follow, step by step photos and very clear instructions, I'll definitely be trying a few more from her store.  This is one of the more grandiose projects I have tried and it was quite difficult to photograph well due to the scale, but I hope you get the idea.

The album itself is constructed from chipboard which I covered with manila folders.


Sweet Nothings Album


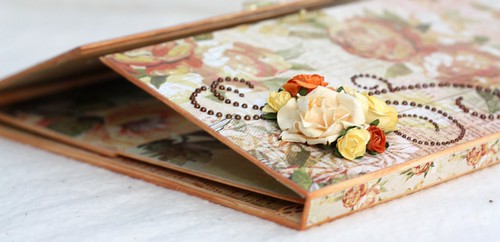
The front has a simple but elegant gold clasp to hold it closed, and a small spray of flowers and a pearl bling, both by Kaisercraft.


Sweet Nothings Album


The edges have all been inked with Tea Stain Distress Ink and all the designer papers come from the Sweet Nothings collection by Kaisercraft.  This side on view shows you the depth of the album.  It's quite slimline, but as you will see shortly there is still a lot of space for displaying photos.


Sweet Nothings Album


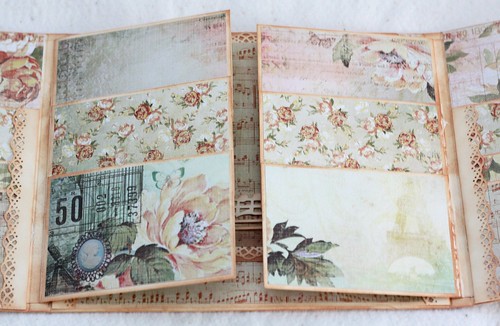
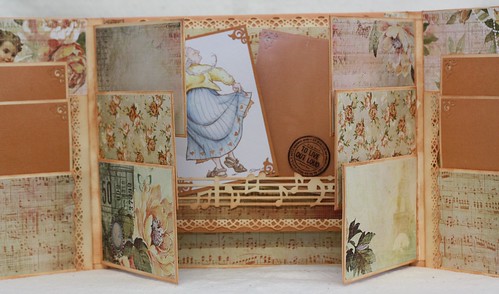
When you open up the sides the first thing you see is a flip style arrangement of three panels.  Each one is 6" x 4" and can easily hold a photo.  Each is also a pocket so small keepsakes can be stored within.


Sweet Nothings Album


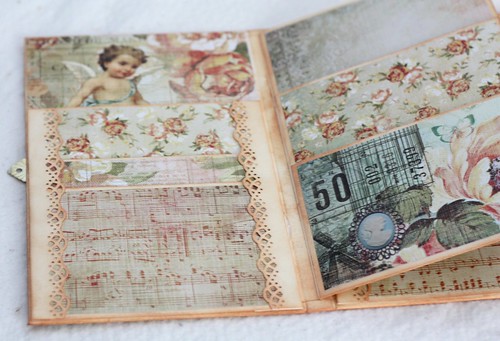
This is the view when the album is open.  Isn't that paper line just gorgeous, I love the colours, which is unusual, orange is not usually my thing!


Sweet Nothings Album

On the inside sleeve are more pockets for photo mats, the photo above I have removed them so you can see the sleeves, the photo below you can see the mats inserted into the sleeves.

Sweet Nothings Album 

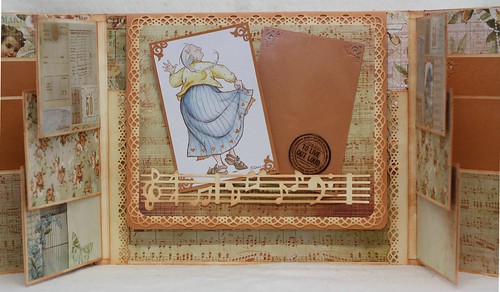
When you open up the flip sleeves you see behind the centrepiece of the album, the main photo mat.
 
Sweet Nothings Album

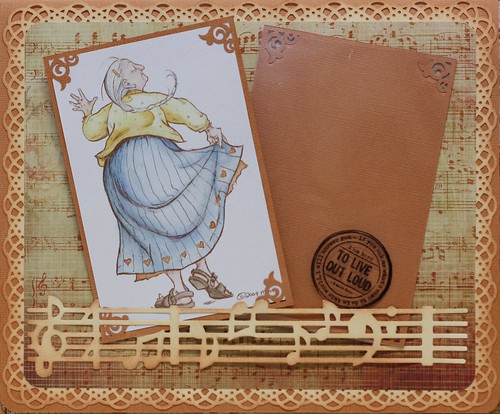
On the feature mat you can see one of Mo Manning's beautiful images, called Mummu.   I have used a Sizzix die to create the strip of music, which acts as a catch for the photo mat and the coloured image.  The rubber stamp says "'If you ask me what I came to do in this world I will answer you: I am here to live out loud."  I have stamped this onto a clear acetate overlay, so a photo can be placed underneath.

But wait, there's more!  The main photo mat lifts back to reveal...

Sweet Nothings Album

Tucked away behind the main mat are more 6 x 4 photo mats tucked into sleeves.   The album has a 2 photo mats on each sleeve, and 4 behind the centre piece, for a total of 8 removable photo mats.
 
Sweet Nothings Album 

This was the very first stamped image I coloured, digital or otherwise. I did this over a year ago and put it away in a safe place waiting for just the right project.  It's not perfect, but I love it, and it reminds me of my mother, who also is not perfect but I love her too.  I created this is album for her 60th birthday.
 
I am entering this into the following challenges:
 
Mo's Challenge Blog - Singing and Dancing
Make it Monday - Anything Goes

Before I let you go, if you haven't heard yet, Christmas Crafting is celebrating it's first birthday, which is being extended, there's a blog hop and prizes so head on over!

Tuesday, July 10, 2012

Gingerbread Recipe Card

Gingerbread Recipe


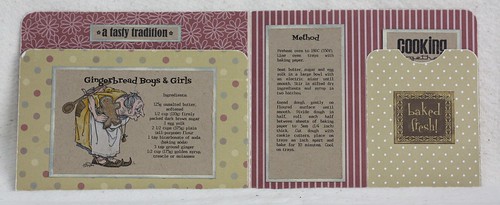
This project is one 'page' layout from a cook book I am making for my girls.  The project was inspired by a Youtube video created by My Scrap World.  You can watch her easy to follow tutorial here.  It's constructed entirely out of manila folders and presents loads of creative options, and if you have time to watch the video you will get an idea of how this one layout will be made into a recipe folio.

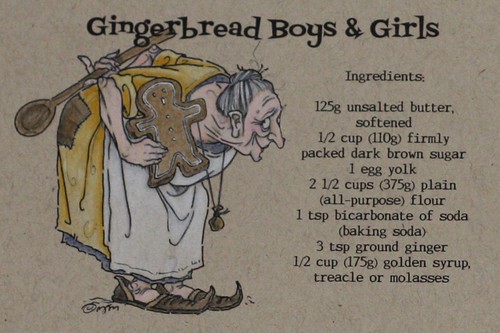
The recipe card itself is created with a Mo Manning digital stamp called Witches Trick.  Isn't she fabulous! I have coloured her with Lyra pencils on Kraft card.


Gingerbread Recipe File


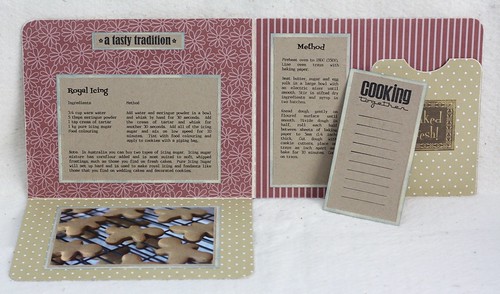
This is a view of the file folder when open, eventually several of these will be be adhered together to create one big recipe file.  The front flap that has the recipe card adhered to it drops down to reveal a recipe for royal icing, as well as a photo of little gingerbread boys that I made using this recipe.


Gingerbread Recipe File


The right pocket holds a tag which will be used for writing notes.  As this is being handed down to my children I felt it was important that it had my handwriting somewhere, so I will jot down a few notes about the recipe for them.

The paper is from a stack called Country Basics by Crafter's Choice, together with regular old manila card files inked with Weathered Wood Distress Ink.  The stamps "Cooking Together" and "A Tasty Tradition" is from a set called Let's Eat by TPC Studio.  The "Baked Fresh" embellishment is from the Nan's Kitchen collection by Kaisercraft.


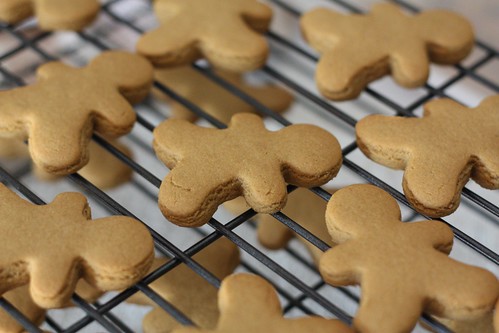
Gingerbread Men


Gingerbread clones!  I sent my son to school with a bag of these and some cheese sticks to use at light sabers so he could have gingerbread clone wars :o)

I am entering this project into the following challenges:

Mo's Digital Challenge - Anything Goes w/Mo Image
City Crafter Challenge Blog -  Recipe Card
Make It Monday - Anything Goes