Technique: Decoupage
Materials:
terracotta pot
acrylic paints
Modge Podge or similar product
linen paper or other good quality ink jet paper
Blu-Tac
Tools:
scissors
printer
foam pad
tapestry needle
paint brush
spray sealant
Paint the terracotta pot using your favourite decorative method. I often use a sponge to apply paint but this time I loaded up a wide brush with blue and white and streaked it down the pot for a colour variation. Let it dry thoroughly and apply a second coat if necessary. Seal using Modge Podge when totally dry.


Click on the images above to get the full size, then save and print out on linen paper on the highest quality setting your printer can manage. The stamps were created by me using vintage post cards and Gimp to create postage stamps. If you are making this for any other occasion, feel free to use the template below to make your own stamps.
Spray the front of the image with a spray sealant. When I print out images I prefer to use a spray sealant as I have found brushing on something like Modge Podge can drag the ink particles and cause smearing. You can use Modge Podge on the back of the print though.
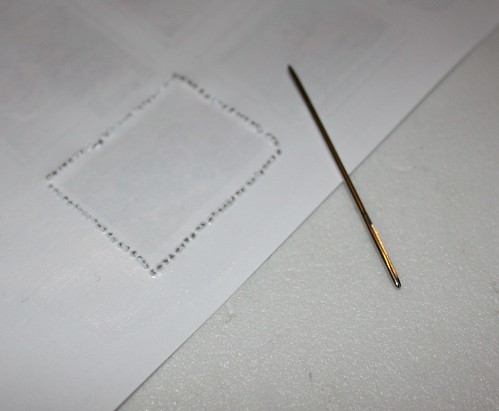
Lay the image over a sheet of styrofoam for support and perforate the edges with the tapestry needle. This gives a lovely, authentic look to the stamp. Cut out as many pansies from the first print as you think you might need.
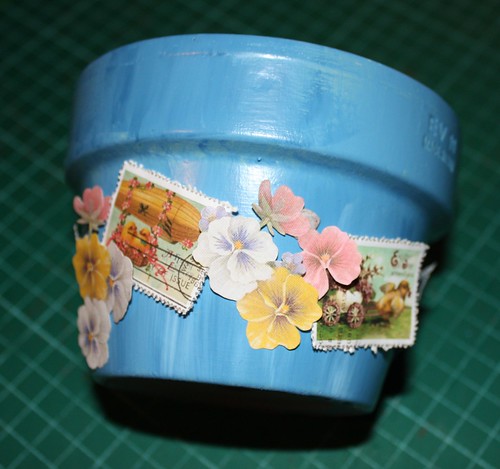
Once you have your images prepared use balls of Blu-Tac to design the piece. This lets you move and rearrange until you get it exactly how you want it. When you are satisfied use Modge Podge to stick the pieces permanently. Allow the pot to dry over night and finish with a coat or two of Modge Podge.
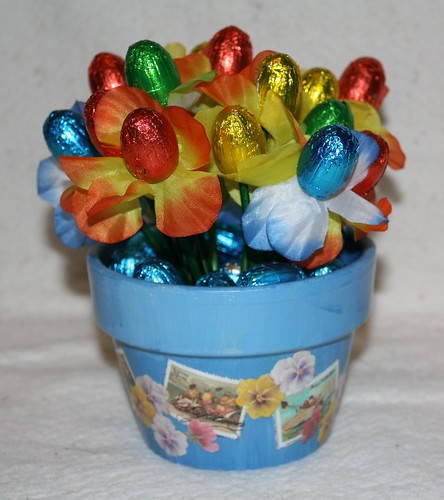
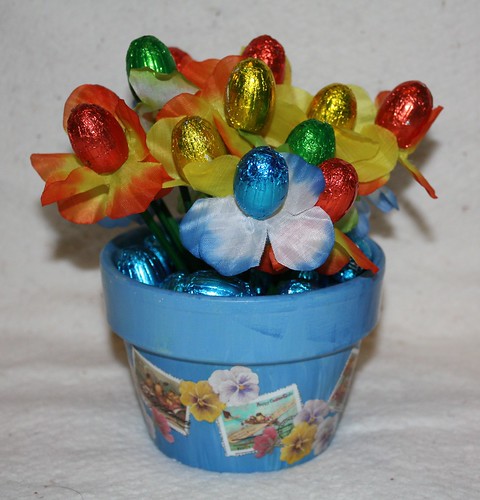
I made this for my Mum. I used the Easter Flowers I made a few days earlier to create a chocolate floral arrangement.
No comments:
Post a Comment