Materials:
Distress Inks:
* Stormy Sky
* Dusty Concord
*Chipped Sapphire
* Bundled Sage
Versacolour white ink
white embossing powder
Rock Candy Stickles
Sparkly Fluff
Glossy Accents
Tools:
heat gun
Spellbinders Leaves die
Arline at Christmas Crafting is hosting an ATC swap and as I have just been announced as one of the design team I wanted to participate. (What emotion is elation and terror mixed together?! LOL)
This is my first ATC, and as I started researching techniques and tutorials I realized that he only standard thing about an ATC is the size, everything else is totally up to the artist. It can be flat, have dimensional elements, be painted, drawn, stamped, stitched, it really is a 3.5" x 2.5" anything goes.
I thought I would take you through the steps I took to create my ATC.
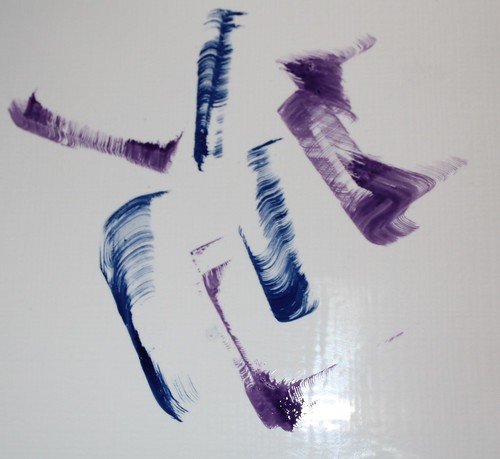
Smear some distress inks onto the work surface, here I have used Dusty Concord and Stormy Sky. I know the craft sheets are very popular, but I actually like using my tile more. It has weight so it doesn't shift about on the table, it doesn't stain and most importantly it doesn't absorb or 'store' colour. Also, it cost me $1.00 at the local hardware store :o)
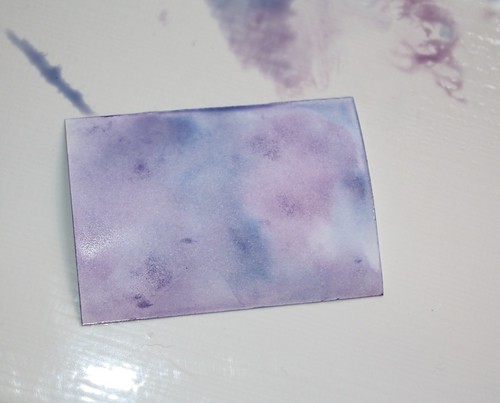
Spritz the inks with some water and then dip and swirl the ATC into the ink. Turn right side over and allow to dry.
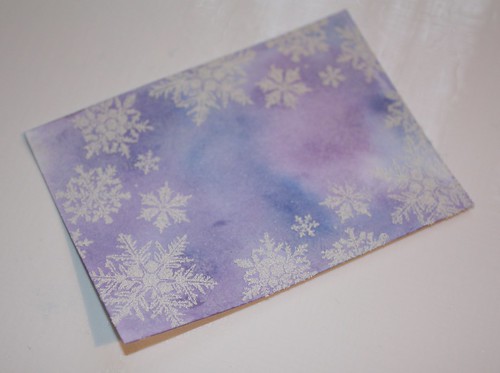
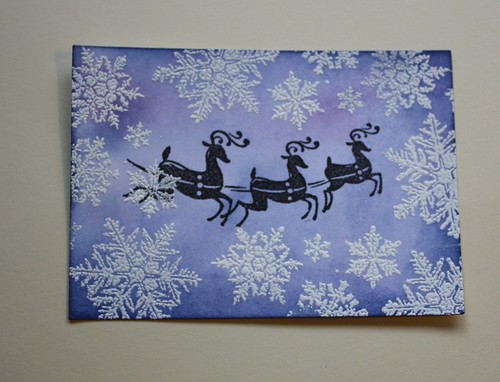
I used the snowflakes stamp from the Tim Holtz mini holidays stamp set to stamp a pattern around the edges of the card, which I embossed for a raised texture.
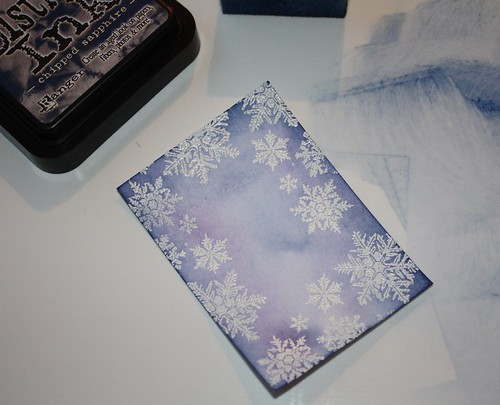
Ink the edges of the card with Chipped Sapphire.
Stamp the reindeer in the middle of the card.
The trees were quite fun to make, although rather labour intensive! Using the leaf die from Spellbinders I cut out a pile of little frond shapes from plain white card. To give them some colour I sponged them with Bundled Sage ink.
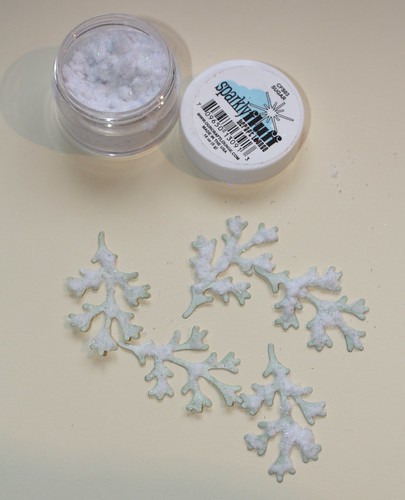
Each little frond then got it's own sprinkling of Sparkly Fluff to simulate snow.
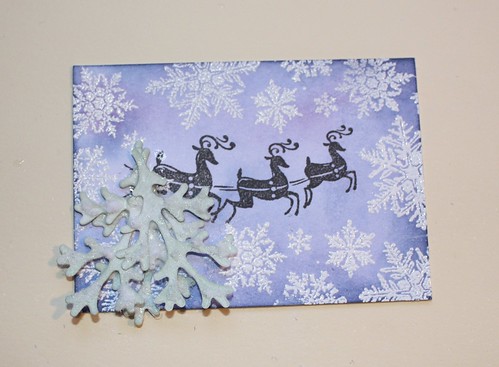
The trees each took 8 fronds glued in a layer to complete. Three across the bottom row, three on the next row, and then two more to form the peak.
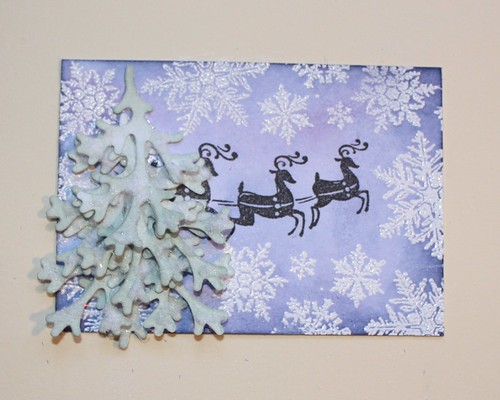
Once secure, they got a further dusting of sparkly fluff to fill in any gaps in the branches and some rock candy stickles for extra glisten, and a little bit of glitter in each of the corners.
These are on their way to the lovely Arline for the Christmas Crafting ATC Swap. Hop on over to the Christmas Crafting website if you would like to join in :o)
what a beautiful card morgan thank you for the tutorial.
ReplyDeletegreetings karin
Gorgeous ATC hun! Love the snowflake edge and the trees are fab! Will pop a link to this post on the post next week if that is ok? Think lots of people will find it really useful!xx
ReplyDeleteExcellent tutorial love the way you have created the background fab! Arlinex
ReplyDelete