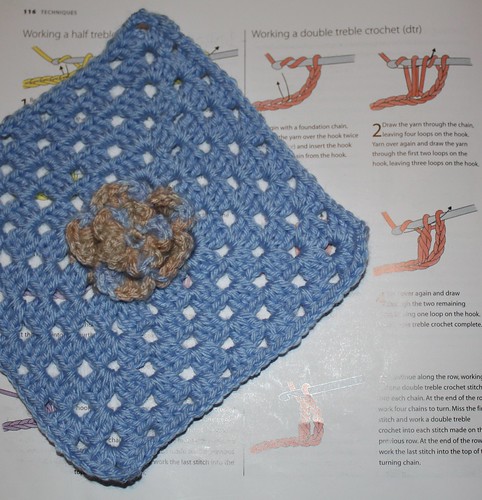
Technique: Crochet
Materials:
8 ply yarn
Tools:
4mm hook
Finished Size:
6 inches
Rnd 1: Ch 2, 5 sc in 2nd ch from hook, join in beg sc (5 sc)
Rnd 2: (Sl st, ch 1, 4 dc, ch 1, sl st) in each st around, join in beg sl st. (5 petals)
Rnd 3: Working behind petals, ch 1, [sc in sc on rnd 1 between 2nd and 3rd dc of next petal, ch 3] around, join in beg sc (5 ch 3 loops at back of flower)
Rnd 4: (Sl st, ch 1, 6 dc, ch 1, sl st) in each ch sp around, join in beg sl st (5 larger petals)
Rnd 5: Working behind petals, ch 1, *sc in ch sp on rnd 3 in space between first 2 dc on petal, ch 4, sc in same ch sp between last 2 dc of same petal, ch 4**, sc in next ch sp on rnd 3 between 4th and 5th dc on petal, ch 4, rep from * around, ending last rep at **, join in beg sc (8 ch 4 loops at back of flower)
Rnd 6: Sl st in first ch sp, ch 2, (2 dc, ch 2, 3 dc) in same sp, ch 1, *3 dc in next ch sp, ch 1**, (3 dc, ch 2, 3 dc) in next ch sp, ch 1, rep from * around, ending last rep at **, join in 2nd ch of beg ch-2 (in this round you form the foundation for the granny square)
Continue adding rounds until the square is your desired size.

No comments:
Post a Comment